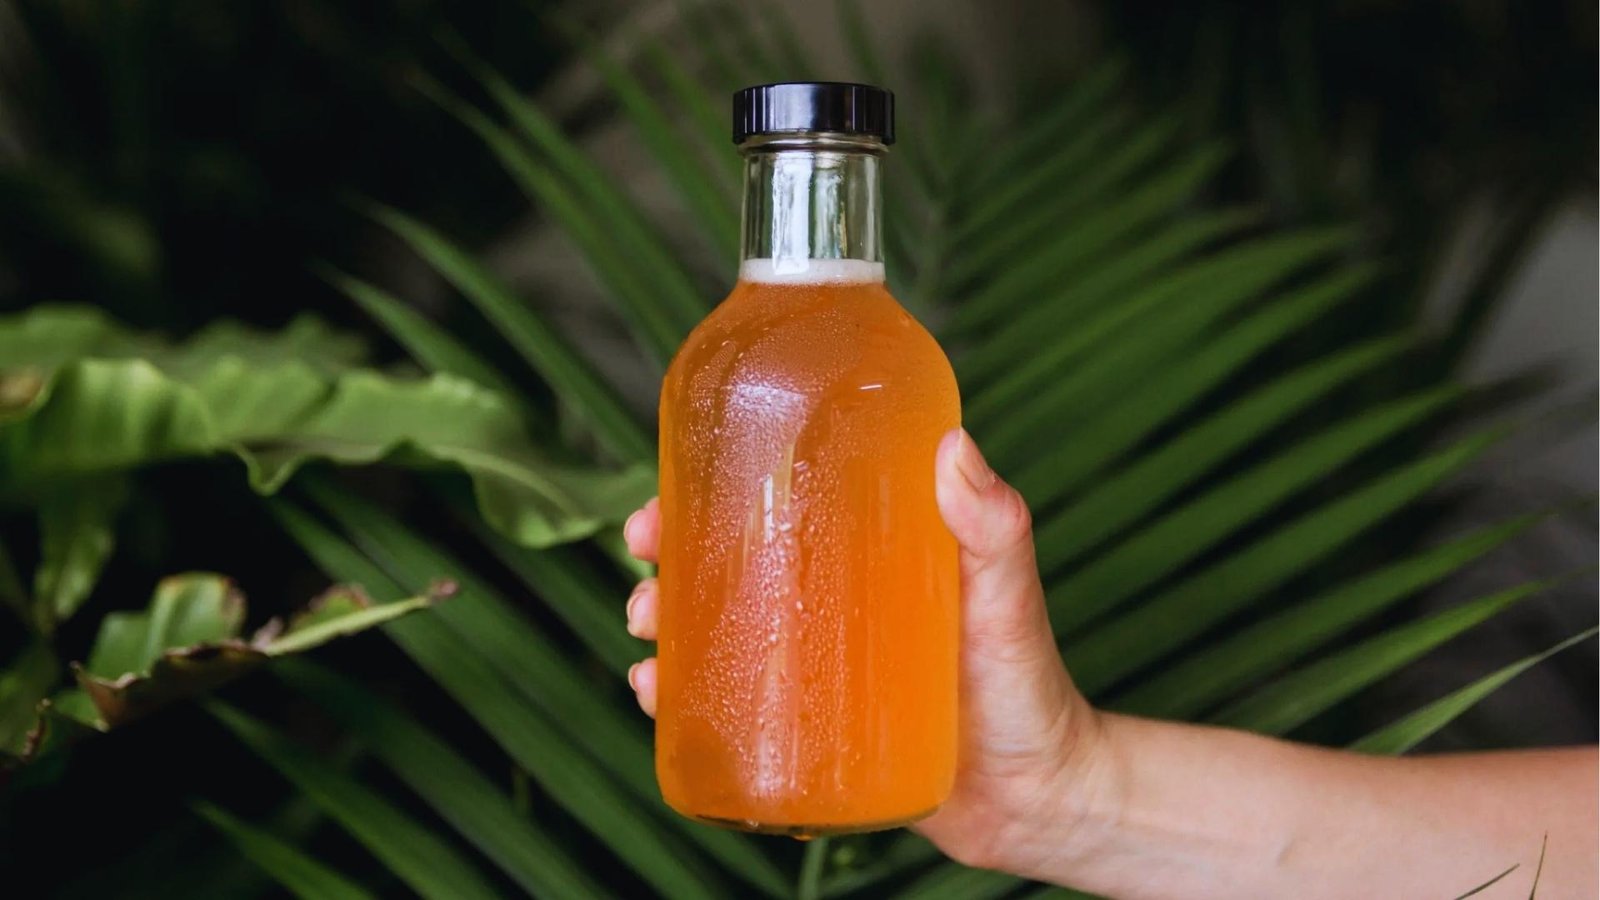
Bottling kombucha is one of the most exciting steps in home brewing. I still remember my first batch. It was flat, sweet, and nothing like the fizzy drink I was hoping for.
That is when I realized the bottling stage makes all the difference. In this guide, I will walk you through everything you need to know.
The right bottles, the best flavorings, a simple step-by-step process, and how to avoid the mistakes that kill your fizz.
I have brewed dozens of batches, and everything here comes from real trial and error. If you want great fizz and bold flavor, you are in the right place.
Let's get into it.
Bottling Kombucha Basics for Beginners
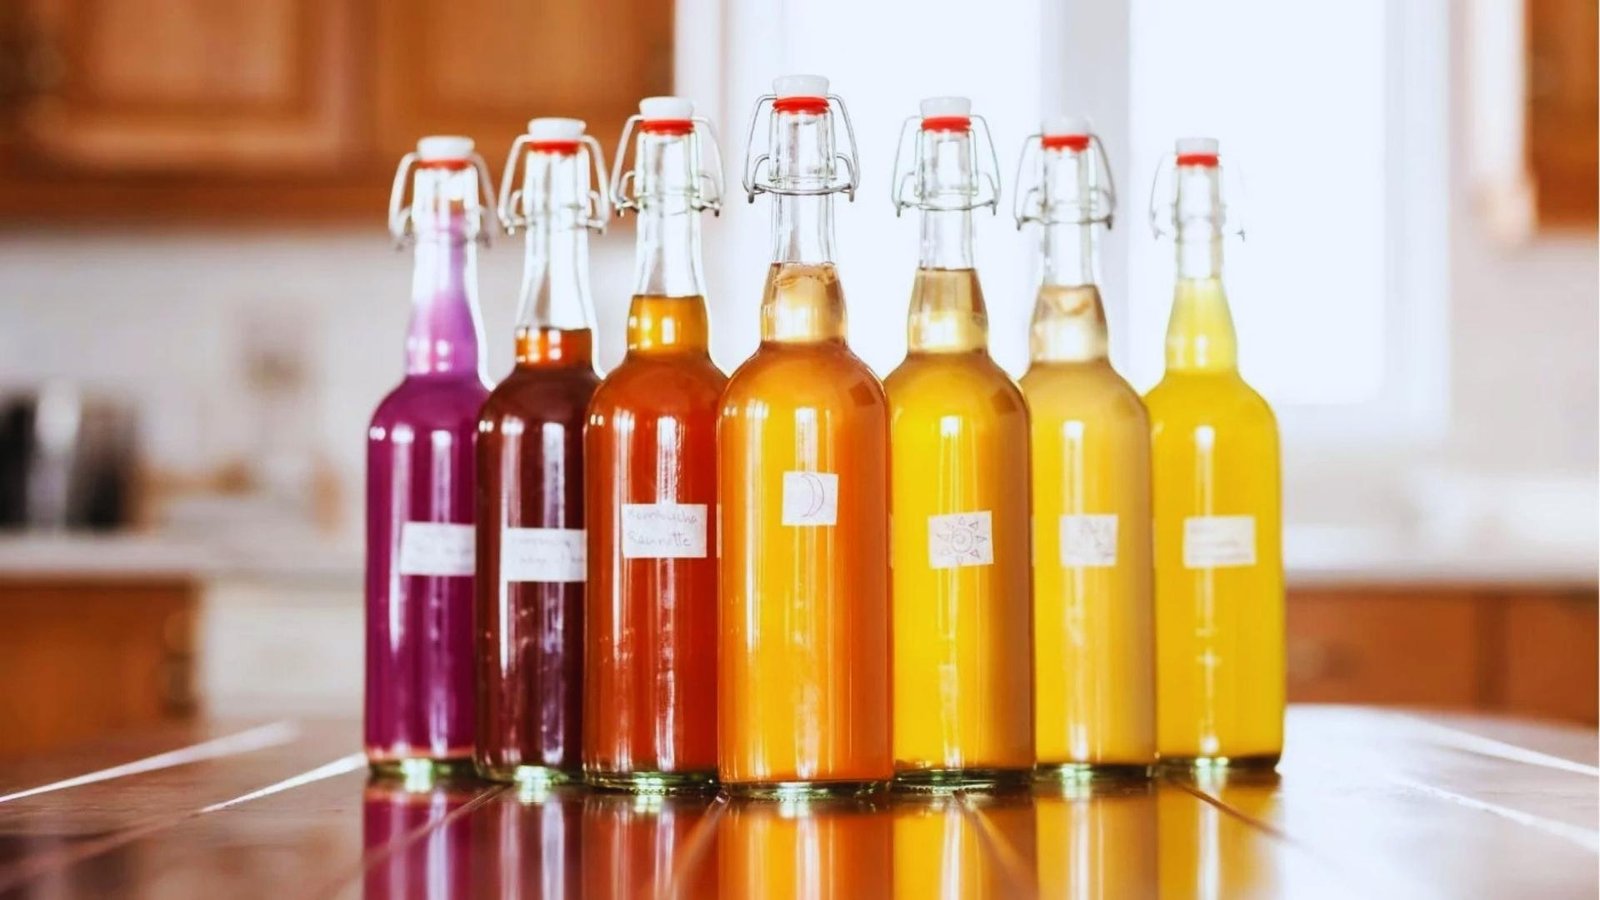
Understanding the foundation helps you get better results from your very first batch. After first fermentation, kombucha is tart and flat.
Second fermentation is where fizz and flavor actually develop. You seal the kombucha in a bottle with a little sugar or fruit.
The remaining yeast feeds on that sugar and produces carbon dioxide. Since the bottle is sealed, the gas gets trapped and creates carbonation.
The added fruit or juice also builds new flavor layers that make the drink taste bright and bold. Three things control your results.
How much sugar you add, how tightly you seal the bottles, and how long you ferment.
Ingredients and Flavoring Options for Bottling Kombucha
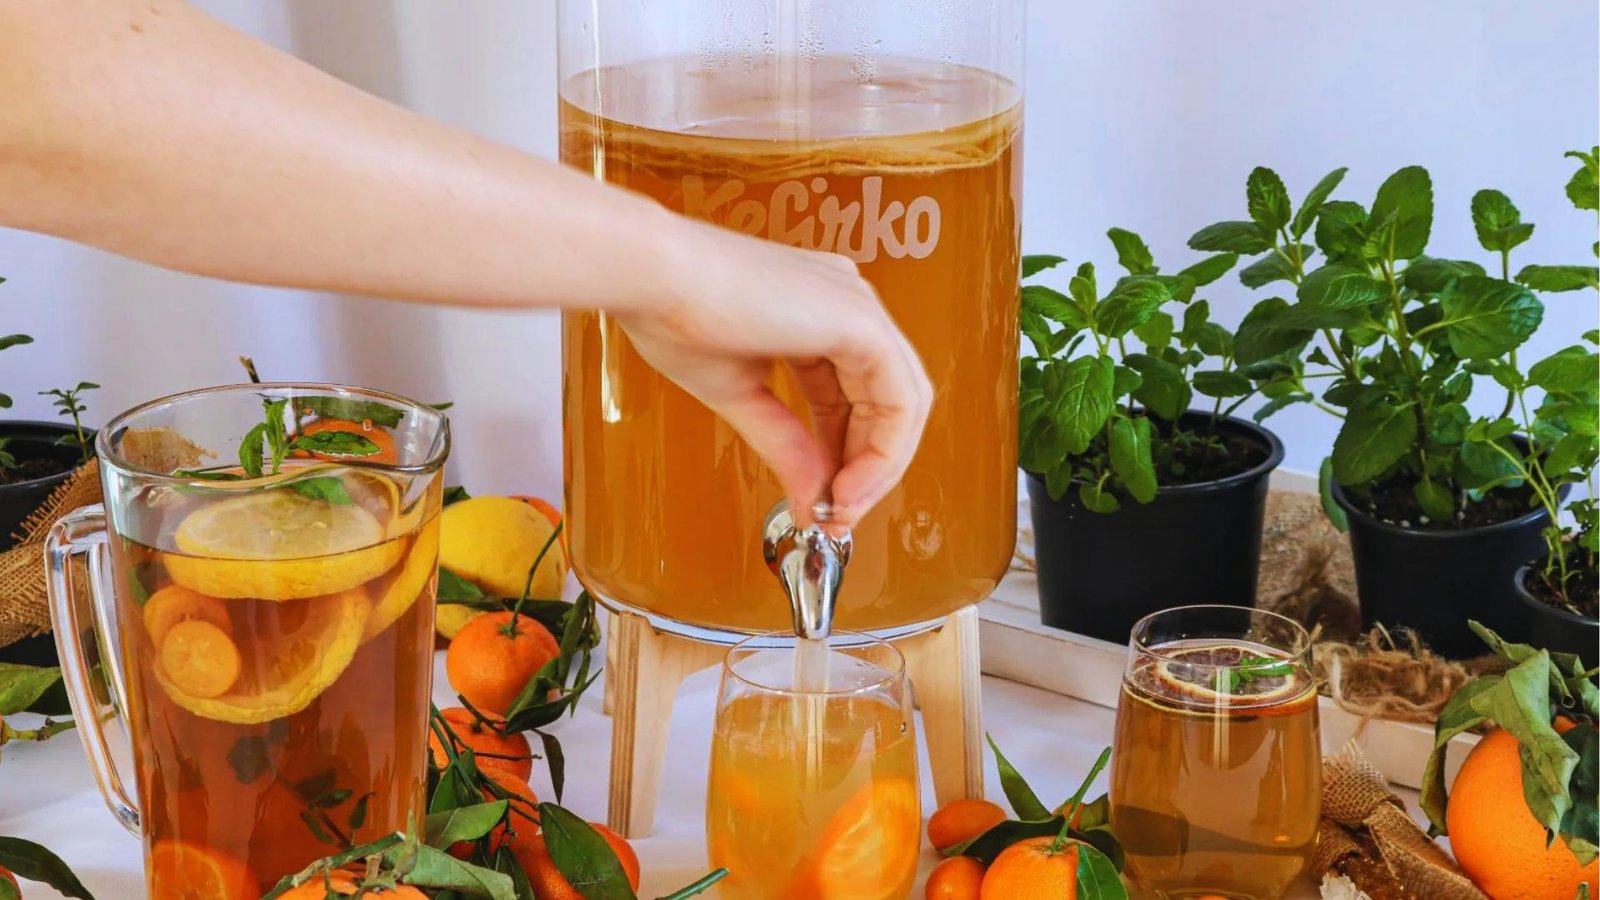
The right mix of sugar and fruit gives your kombucha both the fizz and flavor it needs.
Priming Sugar and Why It Matters
Sugar is the fuel for carbonation. Without it, your kombucha won't carbonate during the second ferment. Most people use plain cane sugar, honey, or fruit juice as the sugar source.
About one teaspoon of sugar per 16-ounce bottle is a solid starting point.
Best Fruits, Juices, and Natural Flavorings
You have a lot of room to experiment here.
Some popular options:
- Fresh ginger with lemon
- Blueberry or raspberry
- Mango and pineapple
- Apple and cinnamon
Juices work well because they add both sugar and flavor. Fresh fruit adds more complexity but also more pulp.
How Much Flavoring to Add
Less is more when you're starting out. Aim for about 10-20% of the bottle volume as juice or fruit. Too much fruit can over-carbonate your bottles. Too little and the flavor gets lost in the sourness.
Choosing Bottles and Equipment for Best Results
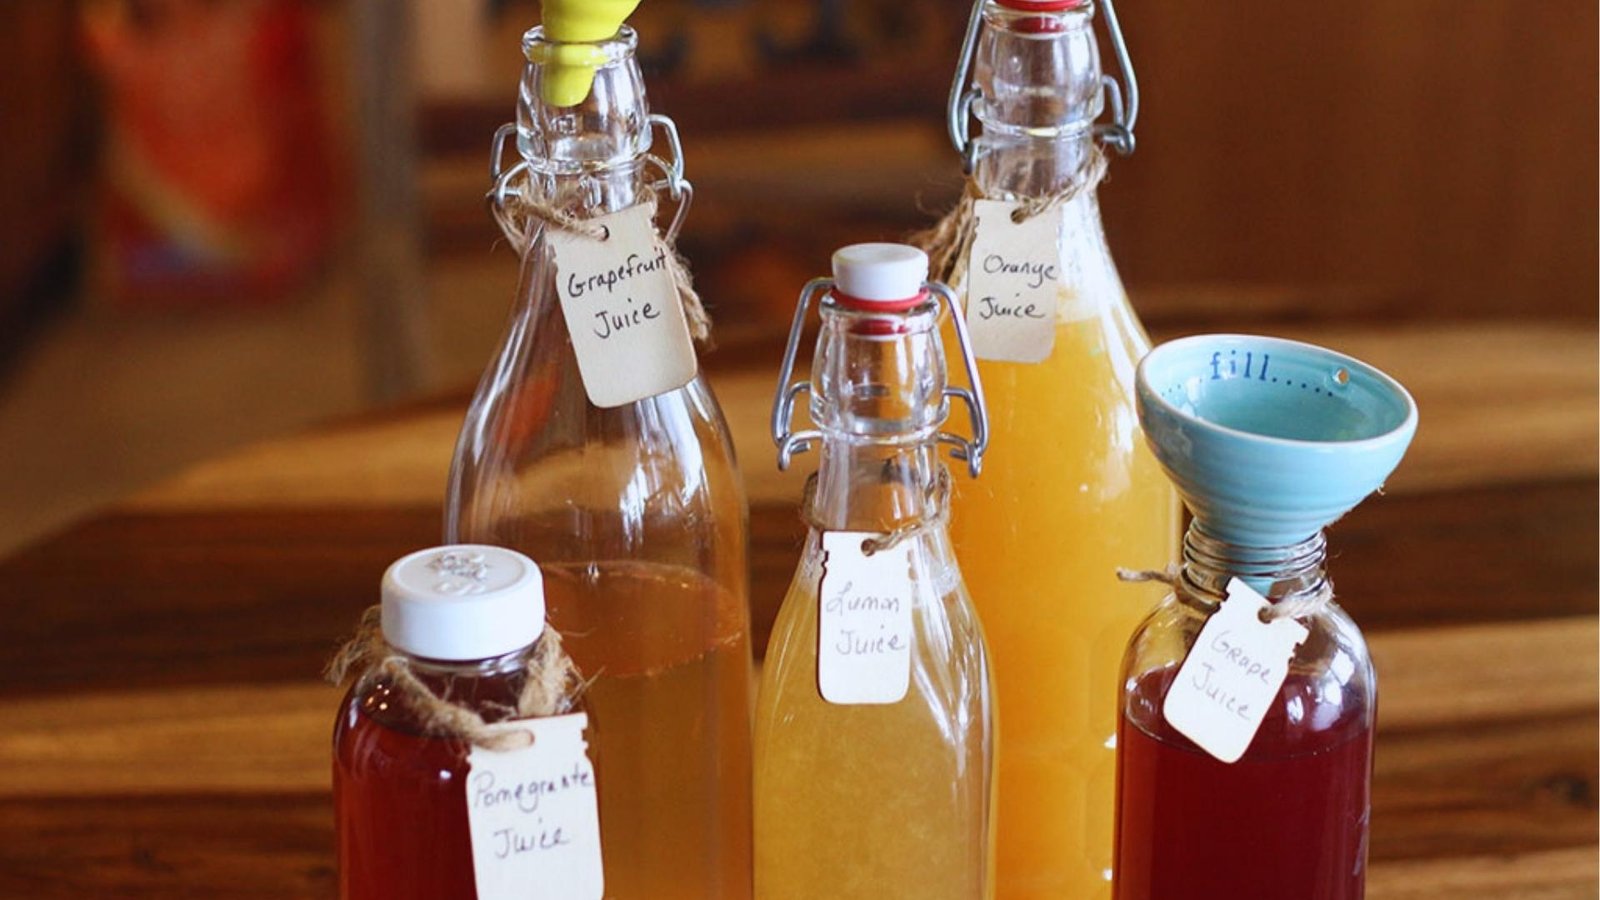
The bottles you use have a direct impact on how much carbonation you can build and hold.
Why Glass Bottles Are Preferred
Glass holds pressure better than plastic. It doesn't absorb flavors or odors. And it's easier to clean thoroughly between batches. For anyone serious about home brewing, glass is the only real option.
Swing-Top vs Regular Bottles
Swing-top bottles (also called Grolsch-style) are the top choice for kombucha. The rubber gasket creates a strong seal that traps carbonation effectively.
Regular caps work too, but the seal isn't always as consistent. Avoid mason jars, they aren't made for pressure and can be risky.
Important Tools for Easy Bottling
You don't need much:
- A funnel for mess-free pouring
- A ladle or siphon to transfer liquid
- Clean caps or swing tops
- A fine-mesh strainer to catch fruit pieces
Step-by-Step Guide to Bottling Kombucha
Follow these simple steps to bottle your kombucha the right way and get great fizz every time.
Step 1: Prepare Bottles and Add Ingredients
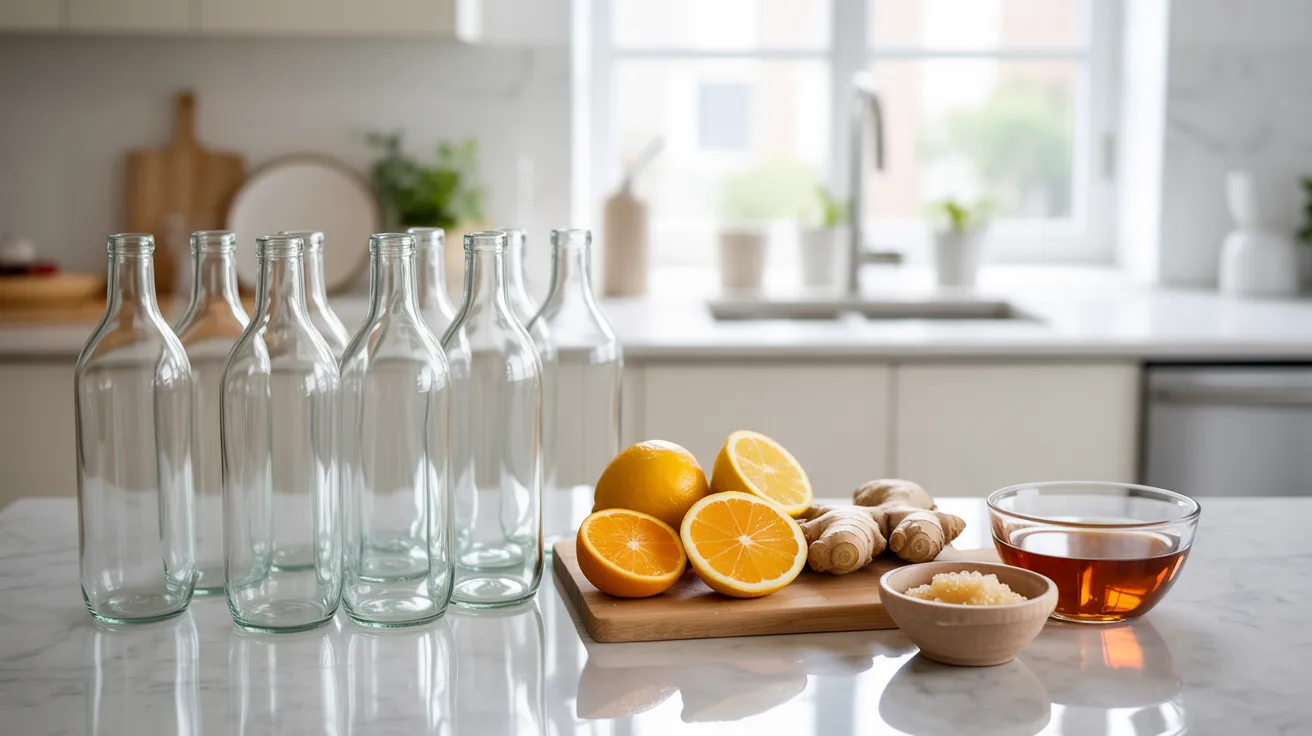
Wash your bottles with hot water and let them dry. Add your sugar, fruit, or juice to each bottle before pouring in the kombucha. This makes mixing easier.
Step 2: Remove SCOBY and Stir the Brew
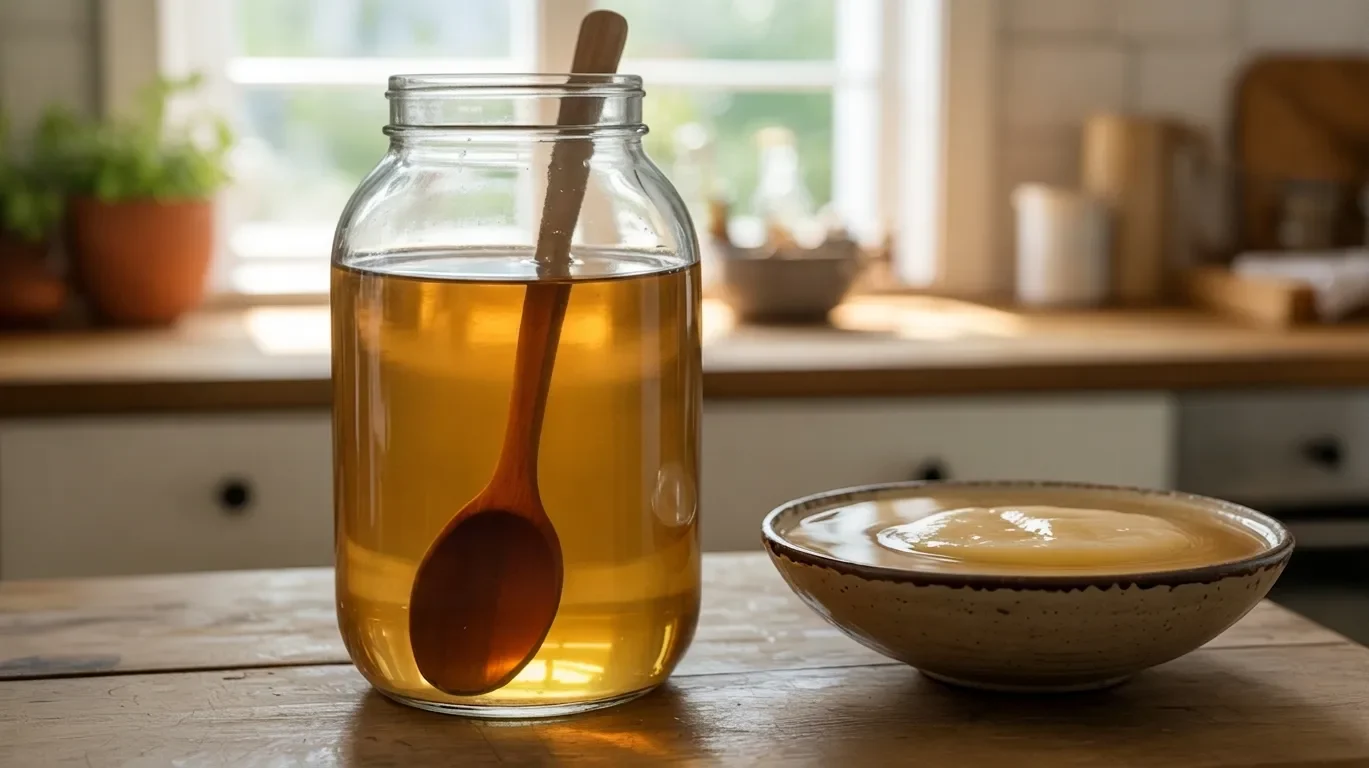
Gently remove your SCOBY and set it aside with about two cups of starter liquid. Stir the kombucha in your brewing vessel to distribute the yeast evenly.
This helps every bottle carbonate at a similar rate.
Step 3: Fill Bottles with Kombucha
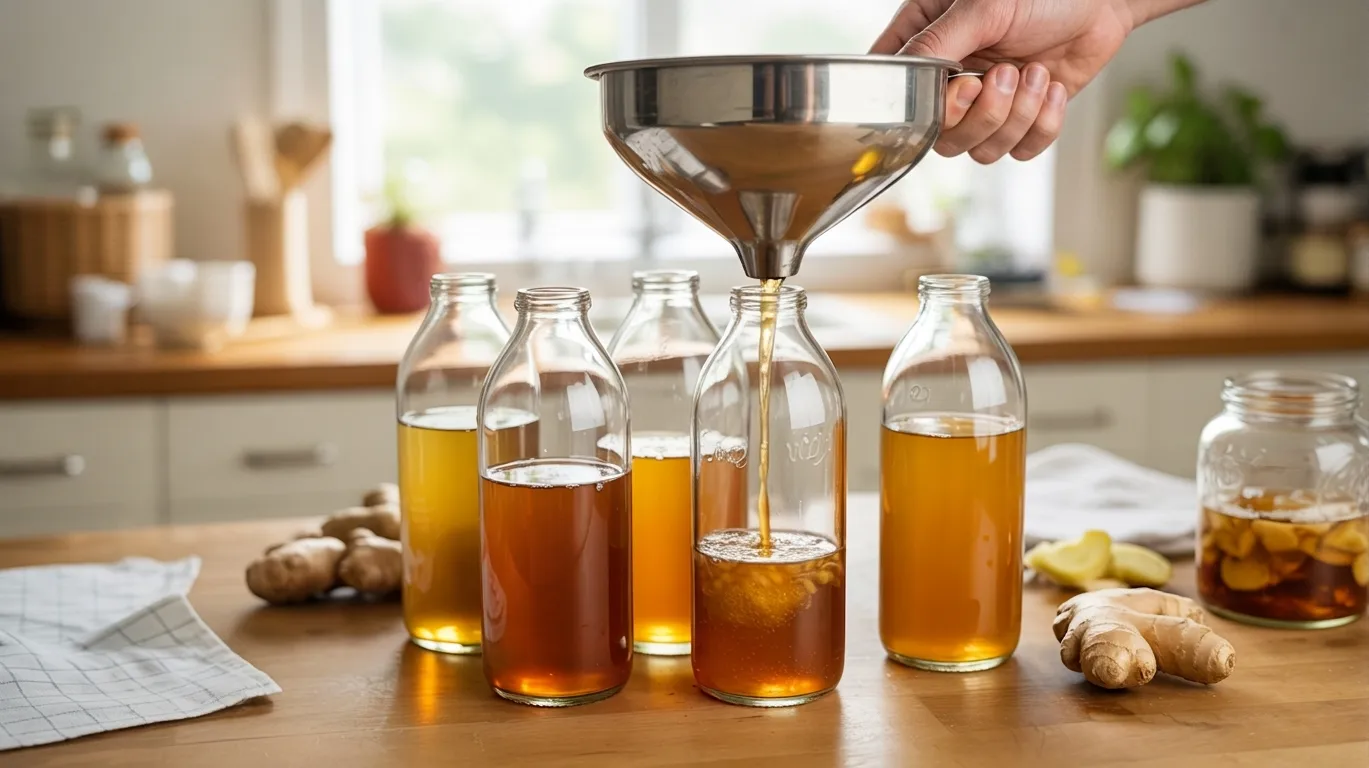
Fill each bottle leaving about one inch of space at the top. That air gap matters because too little space can make bottles overflow or burst.
Too much space means less pressure build-up and flat results.
Step 4: Seal and Store Properly
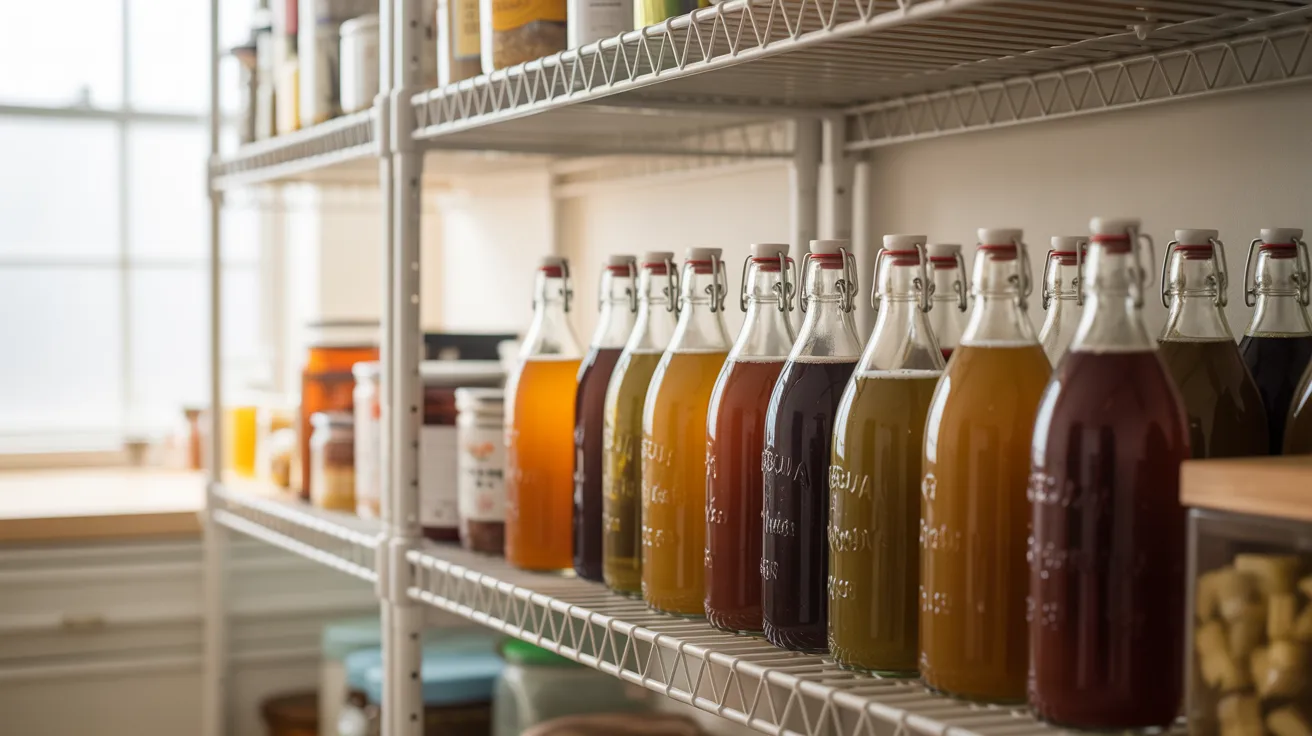
Seal the bottles tightly. Store them at room temperature, away from direct sunlight. A cupboard or pantry shelf works perfectly.
Step 5: Let It Ferment for Fizz
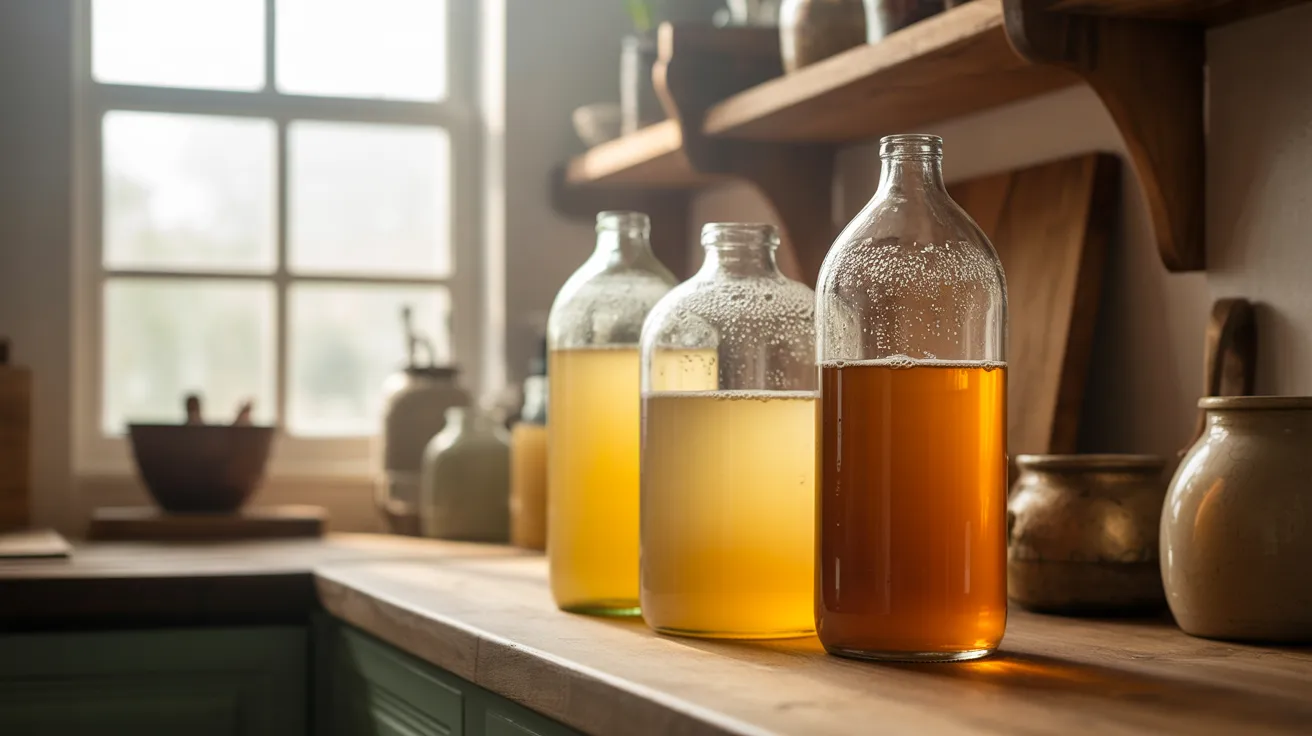
Leave the bottles to ferment for two to four days. The warmer your space, the faster carbonation builds. In summer, two days is usually enough. In winter, you may need four or more.
How to Get the Perfect Flavor and Carbonation
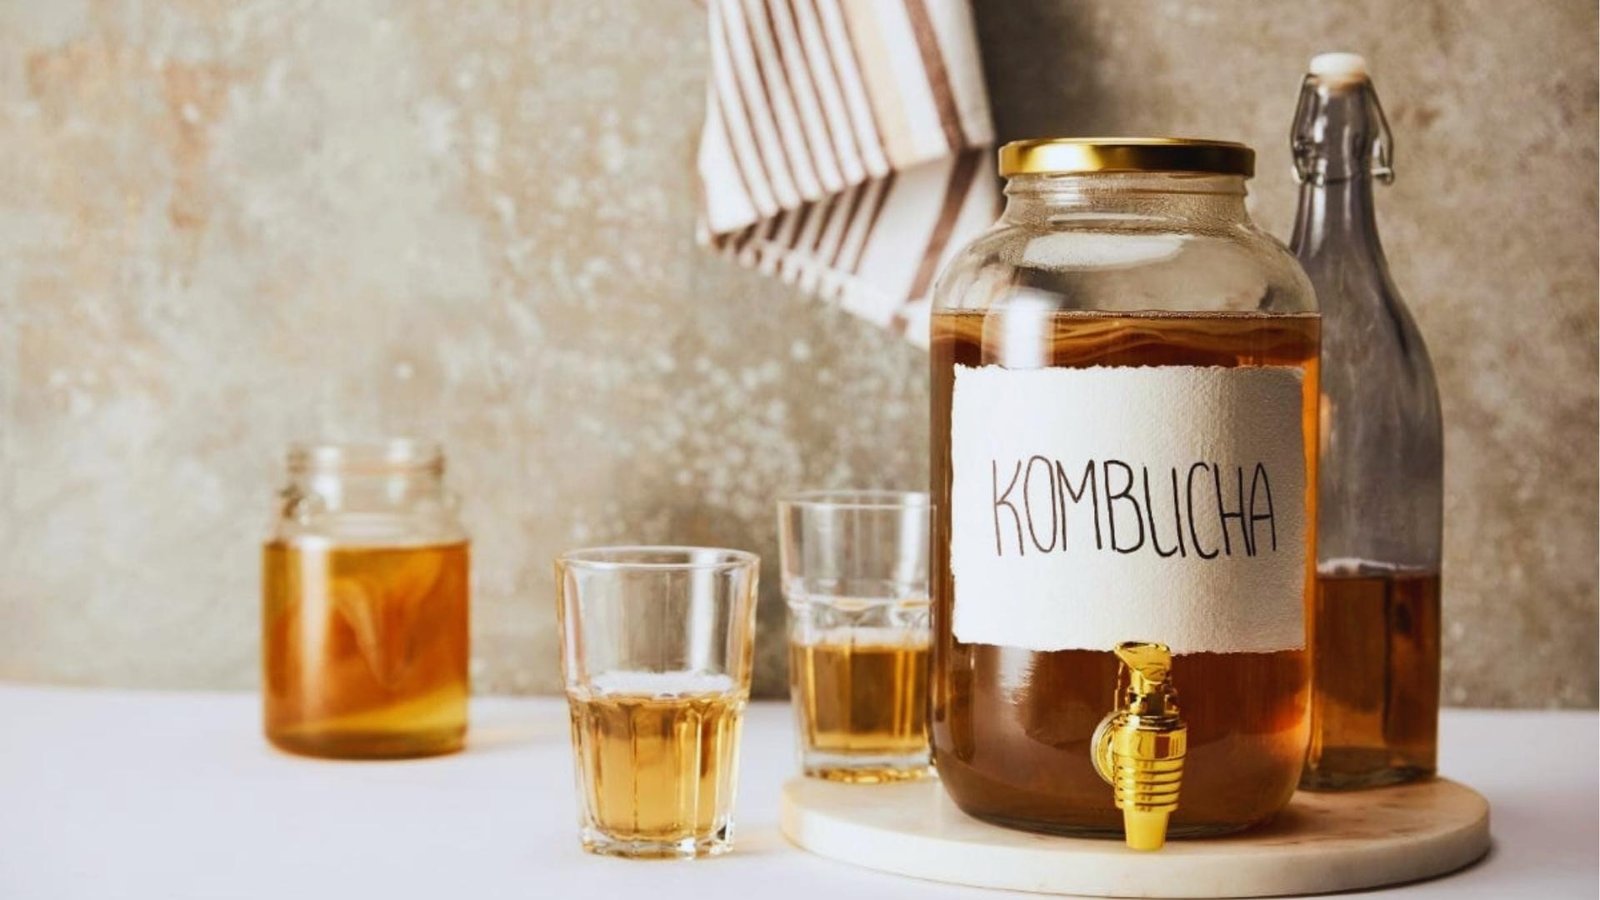
Timing and temperature are the two biggest factors in getting your kombucha just right.
Ideal Fermentation Time for Fizz
Most batches carbonate well between 48 and 96 hours at room temperature. Check one bottle daily by opening it slightly to listen for a hiss. Once you hear that, it's usually ready.
When to Refrigerate Your Bottles
Once the fizz level feels right, move all bottles to the fridge. Cold temperatures slow the fermentation to almost nothing.
This stops the carbonation from building further and prevents over-pressurized bottles.
How to Adjust Sweetness and Acidity
If your kombucha is too tart, reduce the first fermentation time on your next batch. If it's too sweet, let the first fermentation run a bit longer.
For second fermentation, more sugar means more fizz but also a slightly sweeter result.
Common Mistakes to Avoid When Bottling Kombucha
Small errors in the bottling process can lead to flat, overly sour, or even explosive results.
Overfilling or Leaving Too Much Air
Both extremes cause problems. Overfilling leaves no room for gas, which means too much pressure. Leaving too much air space slows carbonation and gives oxygen too much access to the brew.
Not Adding Enough Sugar for Carbonation
If you skip the priming sugar or use too little, the yeast has nothing to feed on. The result is a flat, lifeless bottle. Always measure your sugar rather than guessing.
Poor Sealing and Flat Results
A loose cap or worn gasket lets all that hard-earned carbon dioxide escape. Check your swing-top gaskets regularly. Replace them when they feel stiff or start cracking.
Opening Bottles Too Early
Patience is part of brewing. Opening bottles before they've had enough time to carbonate is the number one cause of flat kombucha. Stick to the recommended fermentation window.
Tips for Consistent Flavor and Fizz Every Time
A few simple habits go a long way toward making every batch better than the last.
- Start with one bottle when trying a new flavor so you do not waste a full batch if it does not work out.
- Write down your sugar amounts, fruit ratios, room temperature, and fermentation time for every batch you make.
- When a batch turns out great, your notes will tell you exactly what to repeat next time.
- Rinse all your equipment with hot water before use and avoid any soap residue near your SCOBY.
- A clean setup leads to healthier fermentation and much better flavor in every bottle you produce.
Conclusion
Bottling kombucha takes a little practice, but once it clicks, it's genuinely fun. I still get excited every time I open a bottle and hear that satisfying fizz.
Your first batch might not be perfect mine definitely wasn't but every batch teaches you something useful.
Try different fruits. Adjust your timing. Trust the process. The more you brew, the more confident you'll get.
If this guide helped you, leave a comment below and share what flavor combo you're trying first. I'd love to hear how your batch turns out.
Frequently Asked Questions
How long does second fermentation take for kombucha?
Most batches carbonate within 48 to 96 hours at room temperature. Warmer conditions speed it up, while cooler temperatures slow it down.
Can I use plastic bottles to bottle kombucha?
Glass is strongly preferred because it holds pressure better. Plastic works in a pinch, but it can absorb flavors and doesn't seal as reliably as glass swing-top bottles.
Why is my kombucha flat after bottling?
Flat kombucha usually means too little sugar was added, the seal wasn't tight, or the fermentation time was too short. Check all three before your next batch.
How much fruit should I add to each bottle?
A good rule is to fill about 10-20% of the bottle with juice or fresh fruit. This adds both sugar for carbonation and flavor without risking over-pressurized bottles.
How do I know when to move my kombucha to the fridge?
Open one bottle gently and listen for a hiss or feel light bubbles when you tilt it. If it feels pleasantly fizzy, refrigerate all your bottles right away to stop further carbonation.