Looking for a simple, crowd-pleasing dessert that everyone will ask for again? You are in the right place.
This article covers everything about making pumpkin crunch, from what it is to how to store it. I will walk you through every step, common mistakes, and smart tips so you get it right the first time.
You will find a full ingredient list, step-by-step instructions, and serving, variation, and storage ideas all in one place.
I have made this dessert many times and know what works and what does not. No guesswork. Just clear and simple guidance.
What Is Pumpkin Crunch?
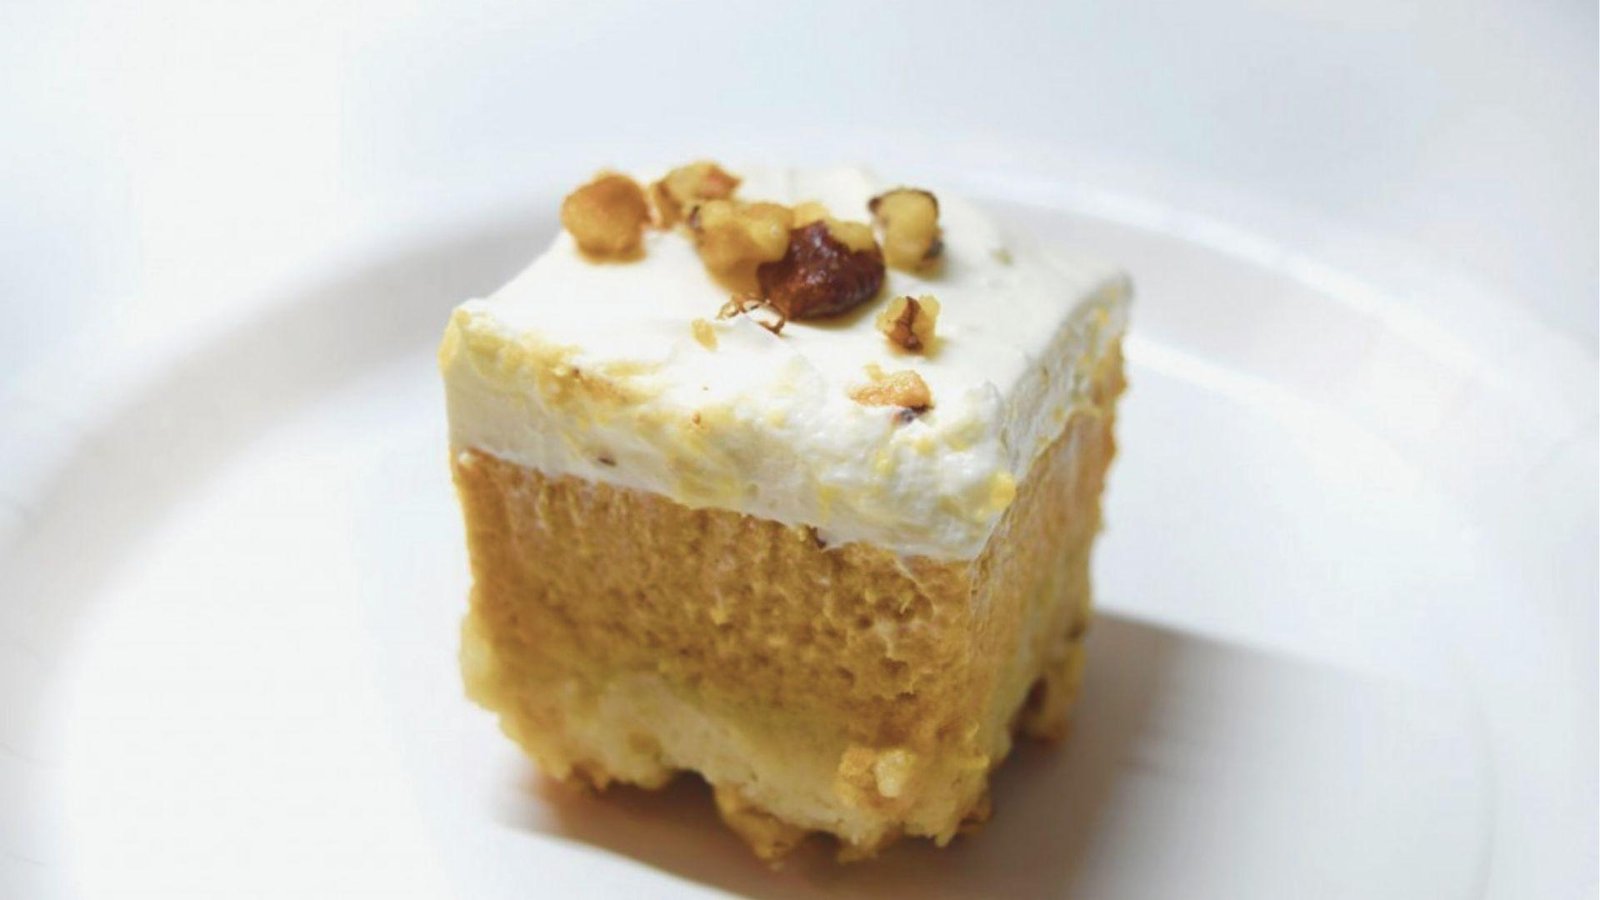
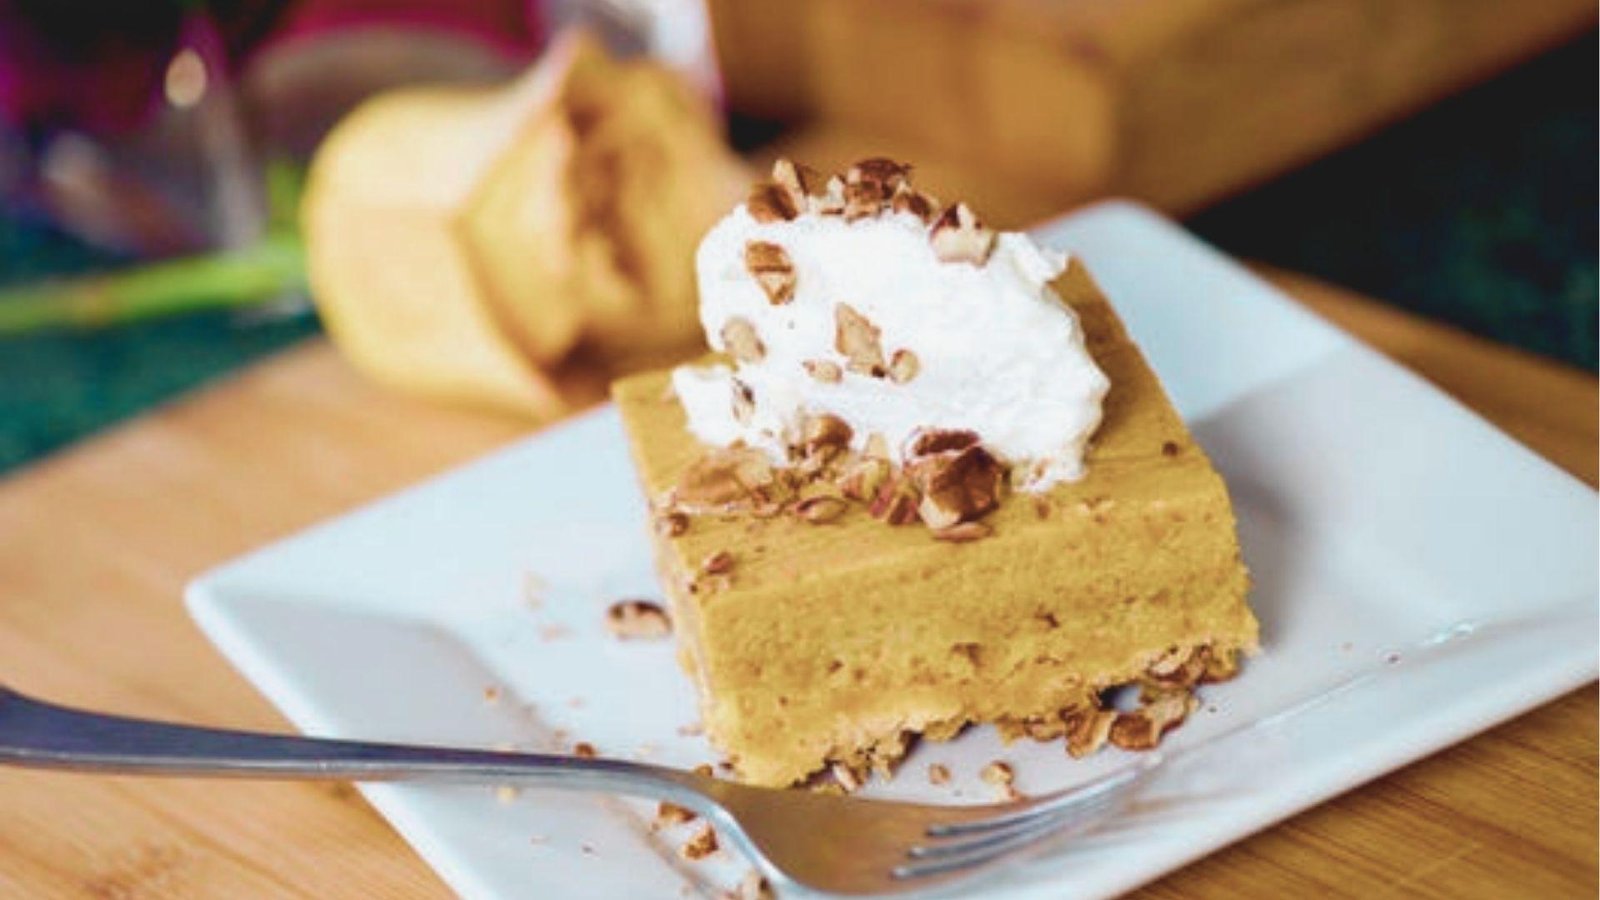
Pumpkin crunch is a baked dessert with a soft pumpkin custard base and a golden, buttery topping made from dry cake mix, nuts, and melted butter.
It has been a staple at fall gatherings for decades. It became popular because it is easy to make and feeds a crowd. Over time, it found its way onto holiday tables across the country.
It also has strong roots in Hawaiian potluck culture, where families bring large pans of food to share. Pumpkin crunch became a go-to dish because it travels well and is easy to slice and serve.
Unlike pumpkin pie, there is no pastry crust to make. Instead, a crunchy cake mix topping bakes into a golden crust with far less effort. Compared to a dump cake, pumpkin crunch has a richer, creamier base. The flavor is deeper and more seasonal.
Why You'll Love This Pumpkin Crunch Recipe
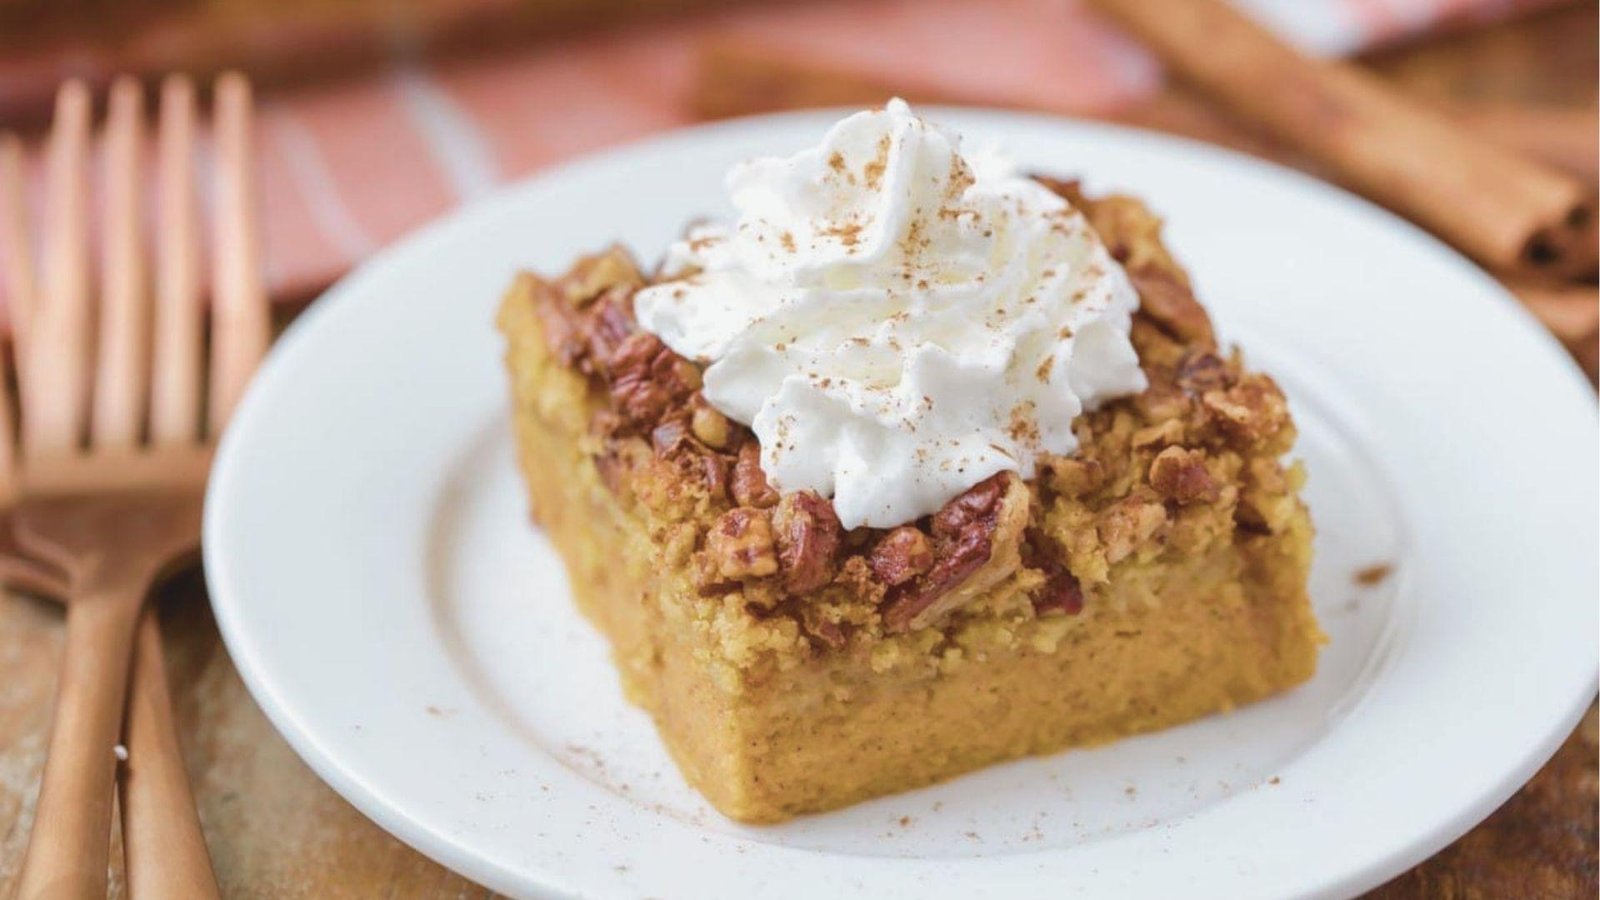
You do not need baking experience to make this. No dough, no piping, no complicated steps. You mix, layer, and bake. That is it.
It fits right in at Thanksgiving, Christmas, and fall potlucks. It bakes in one pan, serves a crowd, and can be made a day ahead.
The bottom layer is smooth and creamy. The top is golden and crunchy. Two textures in every bite make this dessert hard to put down.
Ingredients You'll Need
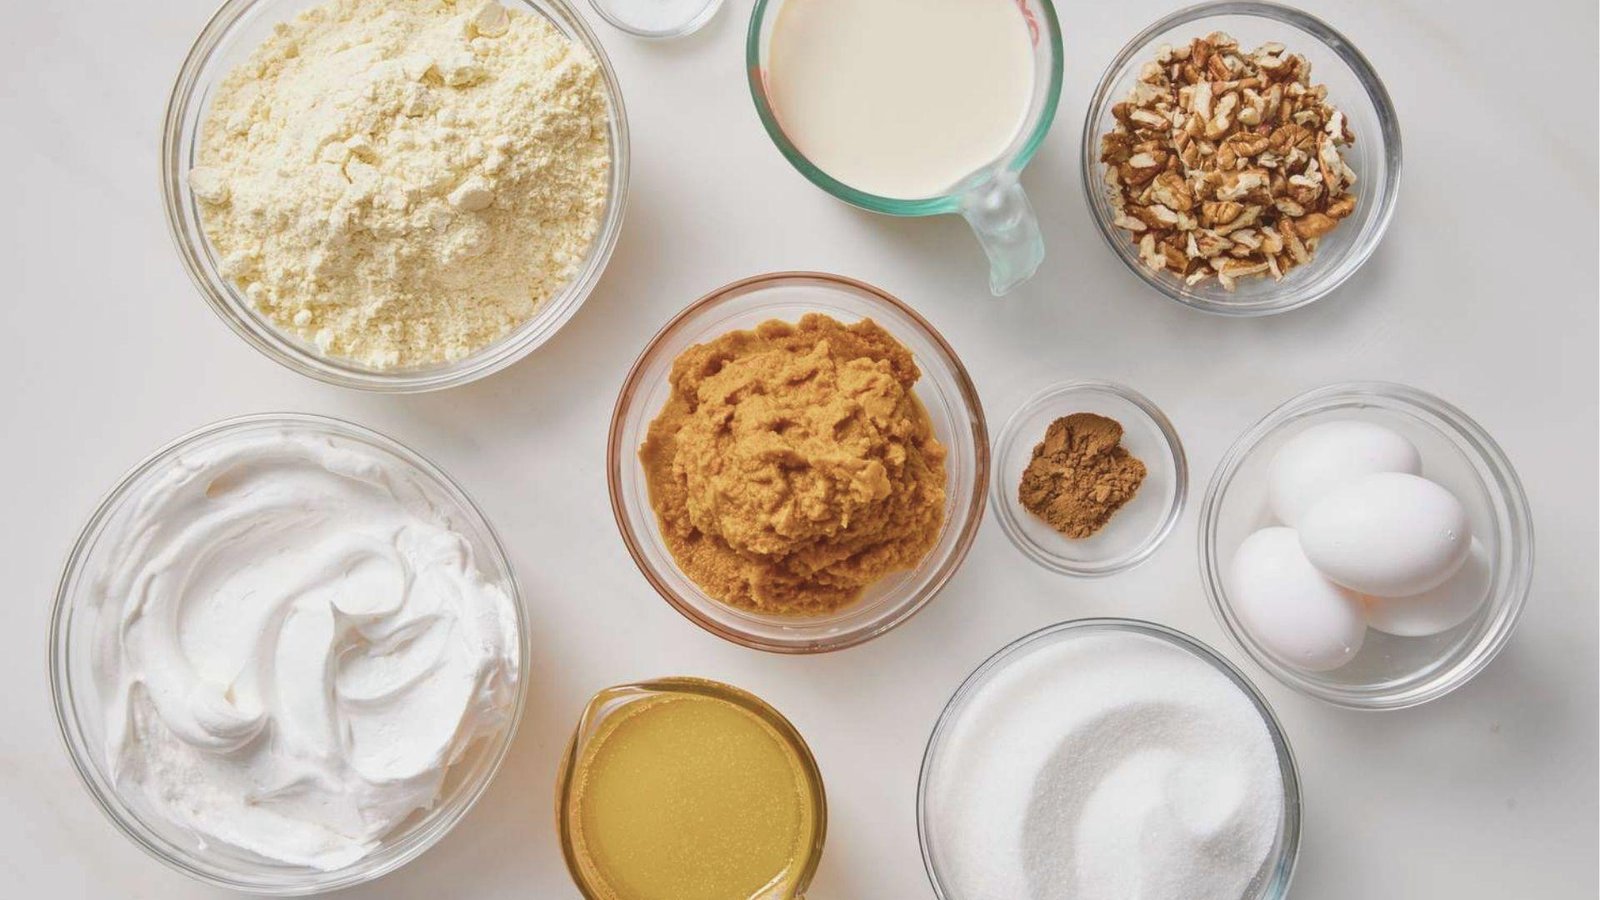
Everything you need to make pumpkin crunch from scratch, laid out in a simple and clear list.
For the pumpkin filling, you will need plain canned pumpkin puree, evaporated milk, large eggs, sugar, and spices like cinnamon, nutmeg, and ginger.
For the crunch topping, grab a box of yellow cake mix, real butter, and chopped pecans or walnuts. The dry cake mixes bakes with melted butter into a golden, crumbly crust. Use pecans for a buttery flavor or walnuts for a bolder taste.
For garnishes, whipped cream, cream cheese frosting, or a sprinkle of chopped nuts and cinnamon work great as finishing touches.
Important Kitchen Tools
The right tools make this recipe faster, cleaner, and easier to get right.
Baking Equipment
You will need a 9×13 inch baking pan for this recipe. A glass or metal pan both work well. Glass lets you see how the bottom is browning, while metal heats more evenly and can give a crispier base. Grease the pan well before adding the filling.
You will also need an oven preheated to 350 degrees Fahrenheit. A reliable oven thermometer helps if your oven runs hot or cool, since the custard layer needs steady heat to set without overbaking.
Mixing and Measuring Tools
A large mixing bowl and a hand whisk are enough for mixing the pumpkin filling. You do not need an electric mixer for this recipe. A rubber spatula helps you scrape the bowl clean and spread the filling evenly in the pan.
Use dry and liquid measuring cups to get the amounts right. Measuring spoons are important for the spices. Even small differences in spice amounts can change the flavor, so measure carefully rather than eyeballing.
How to Make Pumpkin Crunch Recipe
Follow these simple steps and you will have a golden, creamy dessert ready in under an hour.
Step 1: Prepare the Baking Dish
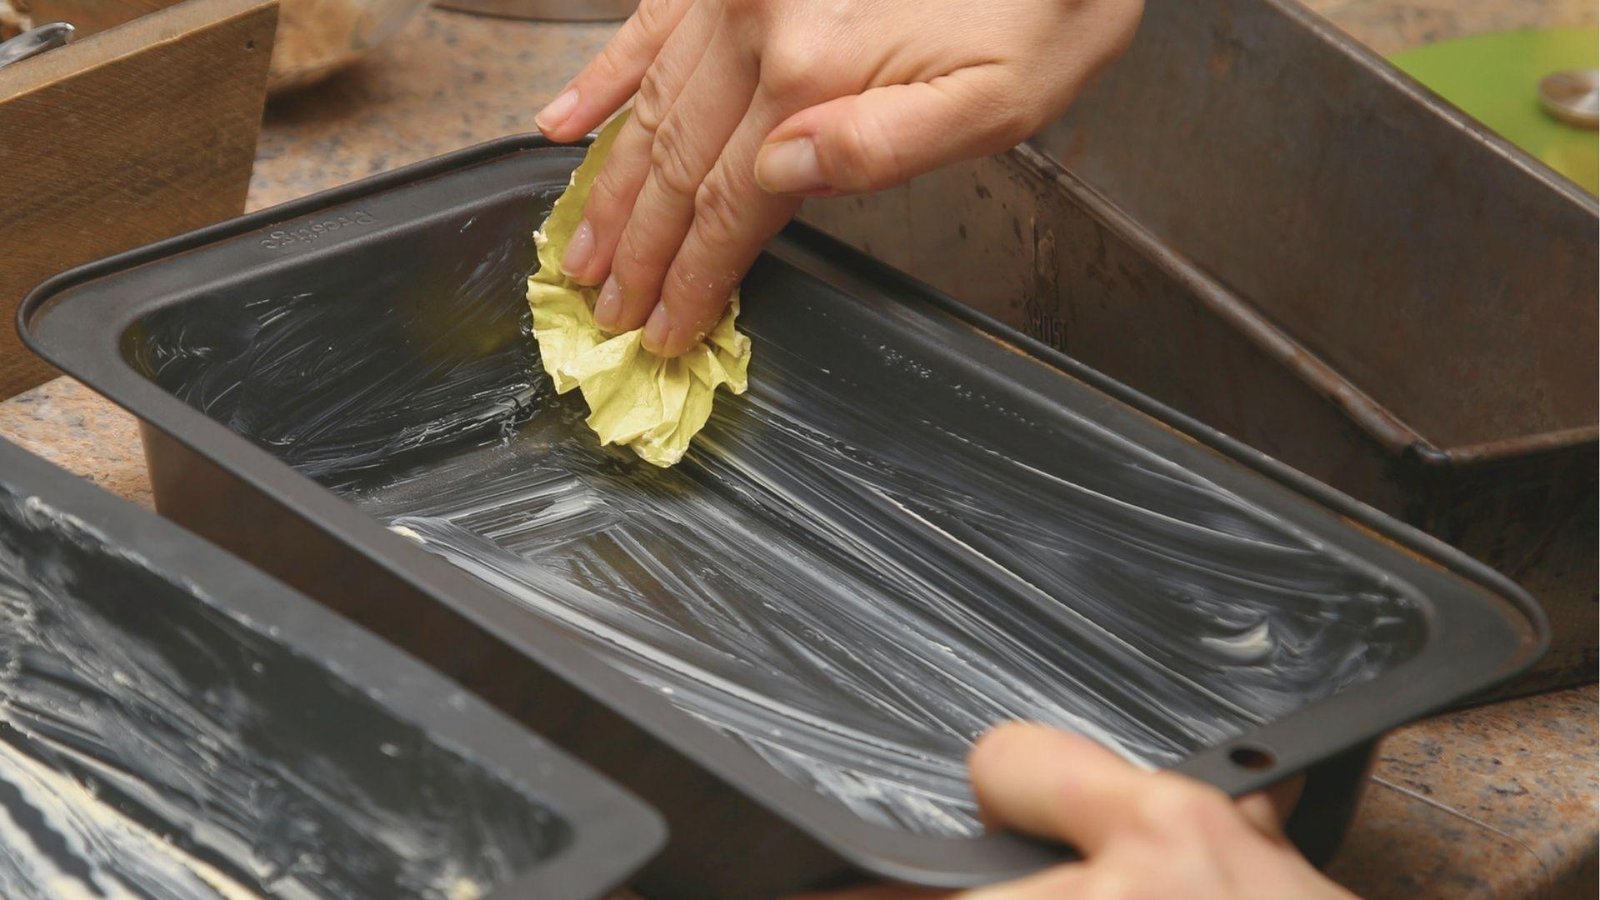
Start by preheating your oven to 350 degrees Fahrenheit. While the oven heats up, grease your 9×13 inch baking pan with butter or non-stick cooking spray.
Make sure you cover the sides and corners well. This prevents sticking and makes it easier to slice and serve later.
Step 2: Create the Pumpkin Base
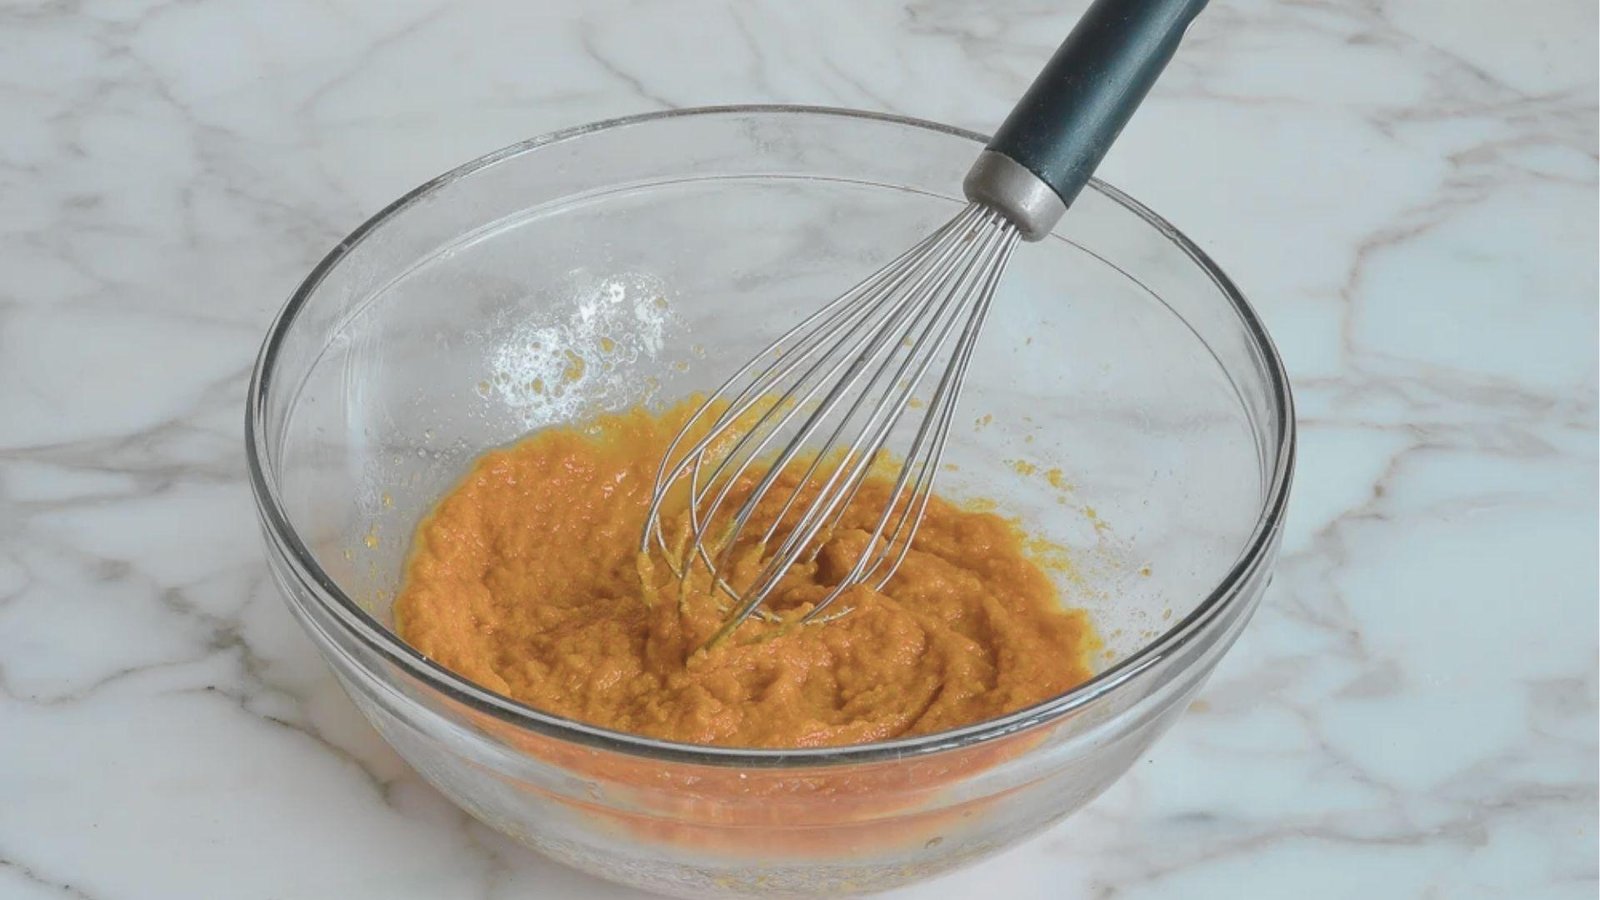
In a large bowl, whisk together the pumpkin puree, evaporated milk, eggs, sugar, cinnamon, and any other spices you are using.
Mix until the filling is smooth and well combined. No lumps should remain. Pour the mixture into your greased baking pan and spread it into an even layer.
Step 3: Add the Dry Cake Mix Layer
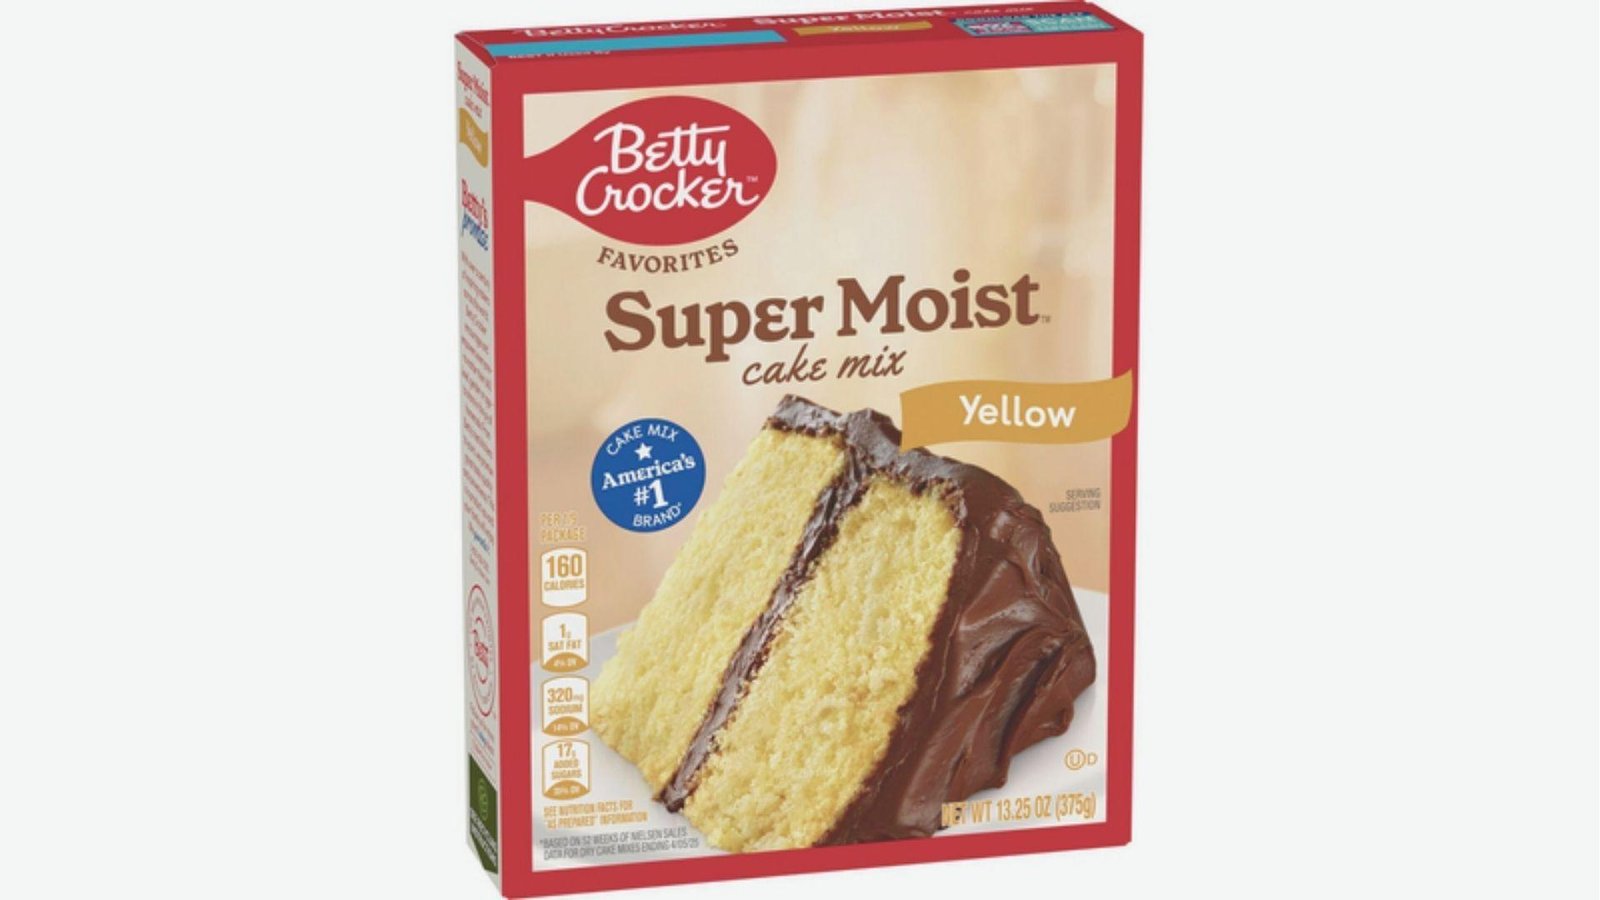
Open your box of yellow cake mix and sprinkle it evenly over the pumpkin filling. Do not stir it in. The dry mix sits on top of the filling and will soak up the butter in the next step.
Cover the entire surface with the cake mix so there are no bare spots.
Step 4: Sprinkle Nuts and Butter
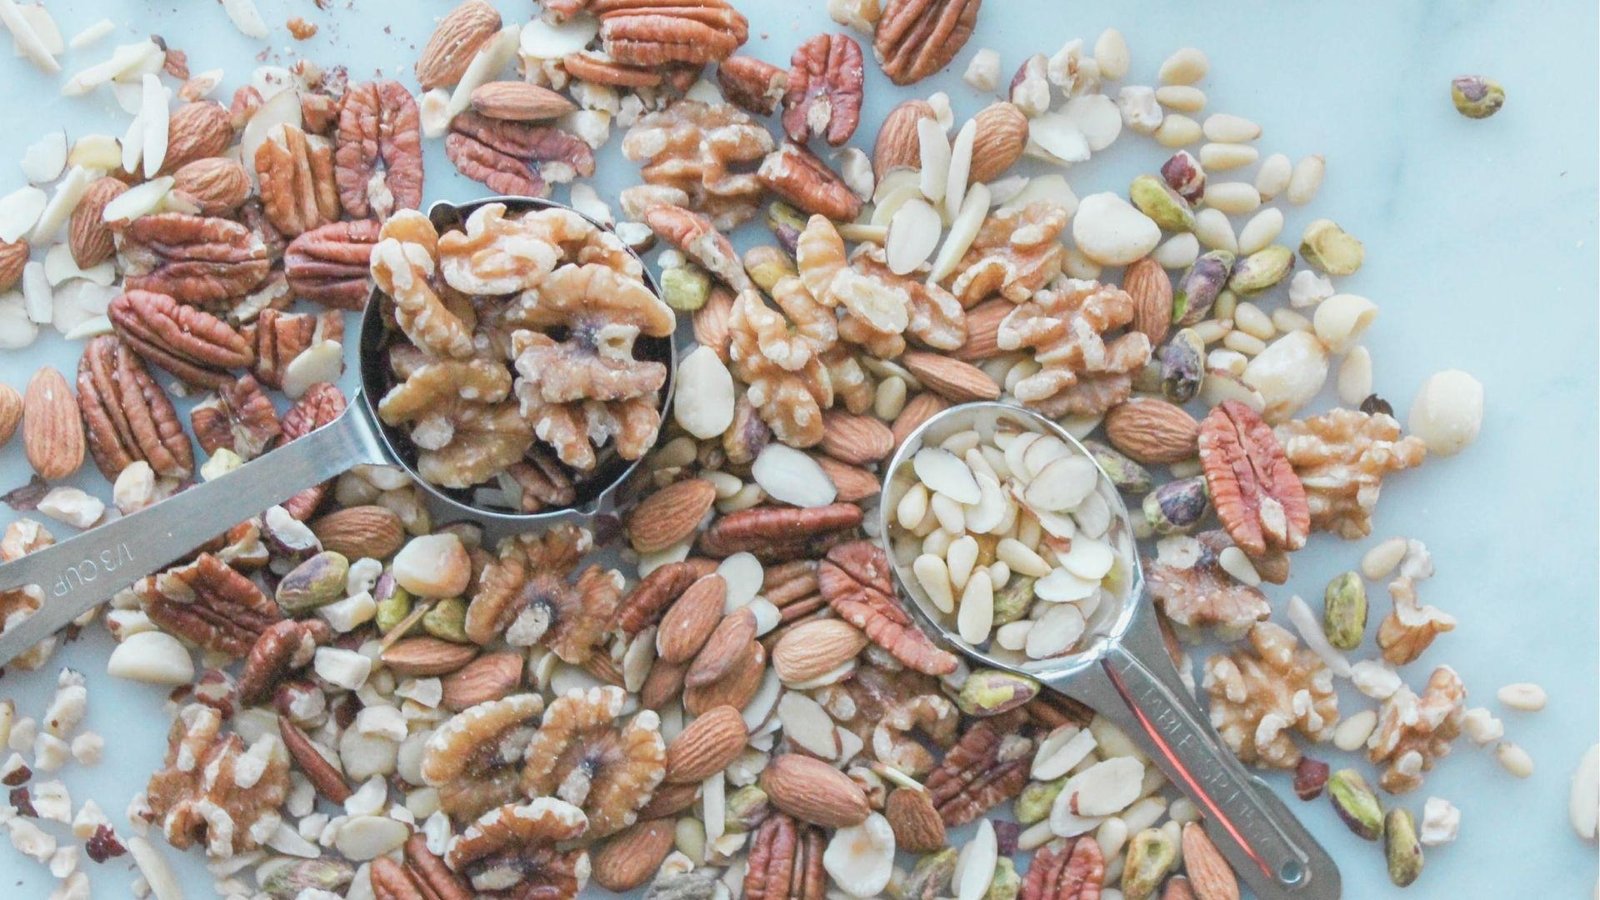
Scatter your chopped pecans or walnuts over the dry cake mix layer. Then drizzle the melted butter evenly over everything.
Try to cover the full surface so the topping bakes up golden and crispy all over. Dry spots that miss the butter will not brown properly.
Step 5: Bake Until Golden and Set
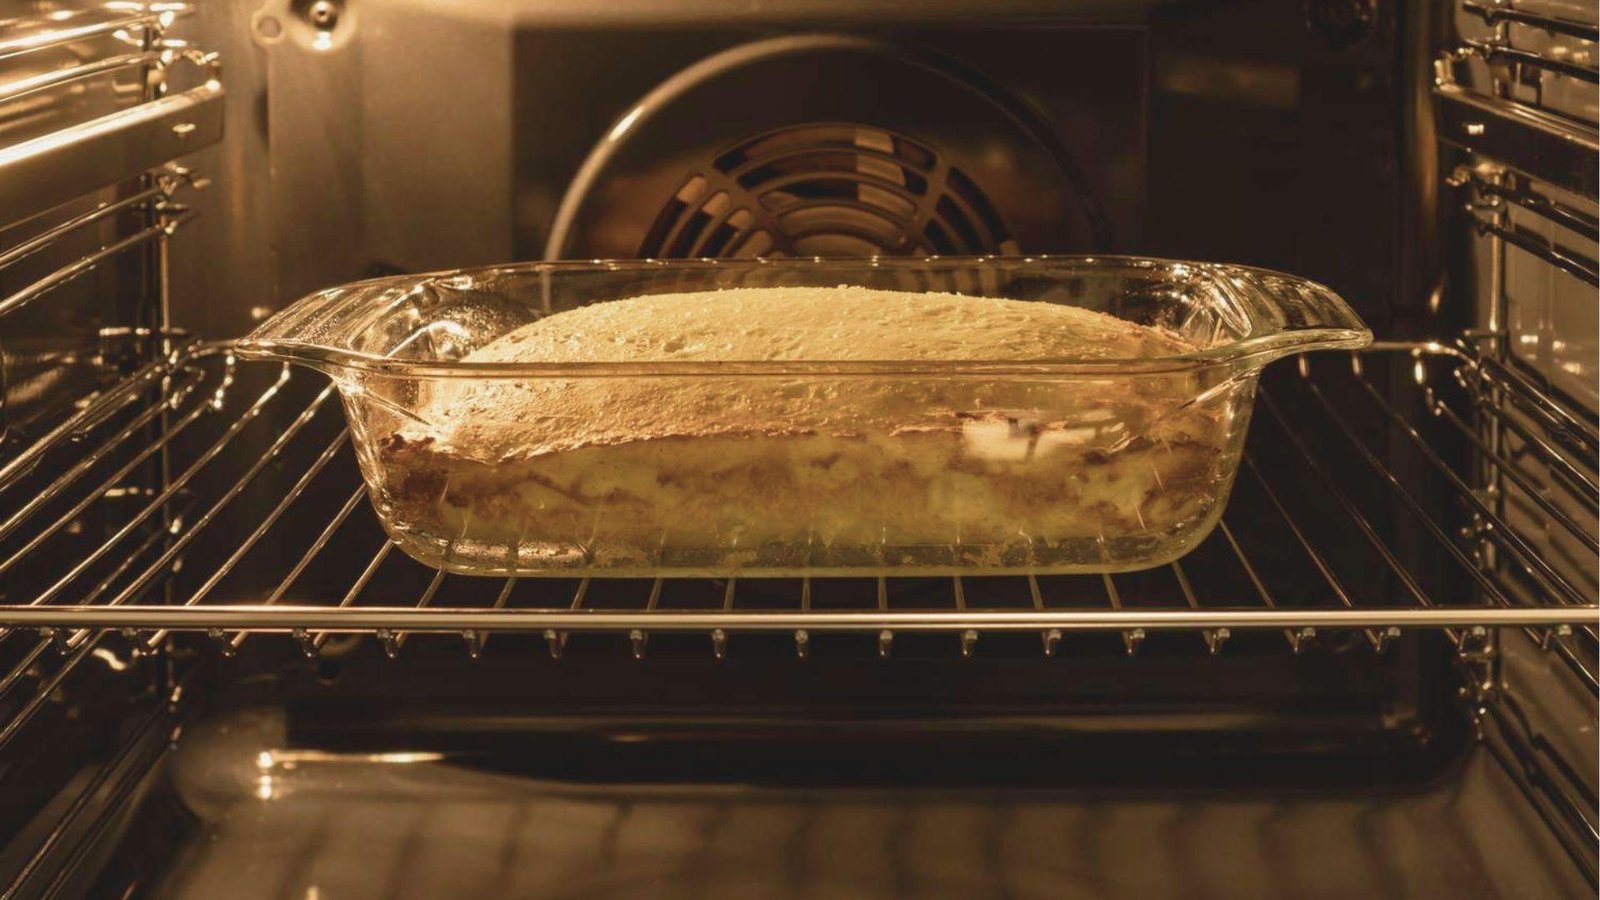
Place the pan in the preheated oven and bake for 50 to 60 minutes. The topping should be golden brown and the filling should be set, not jiggly, in the center.
You can gently shake the pan to check. If the center moves like liquid, give it another 5 to 10 minutes.
Step 6: Cool and Serve
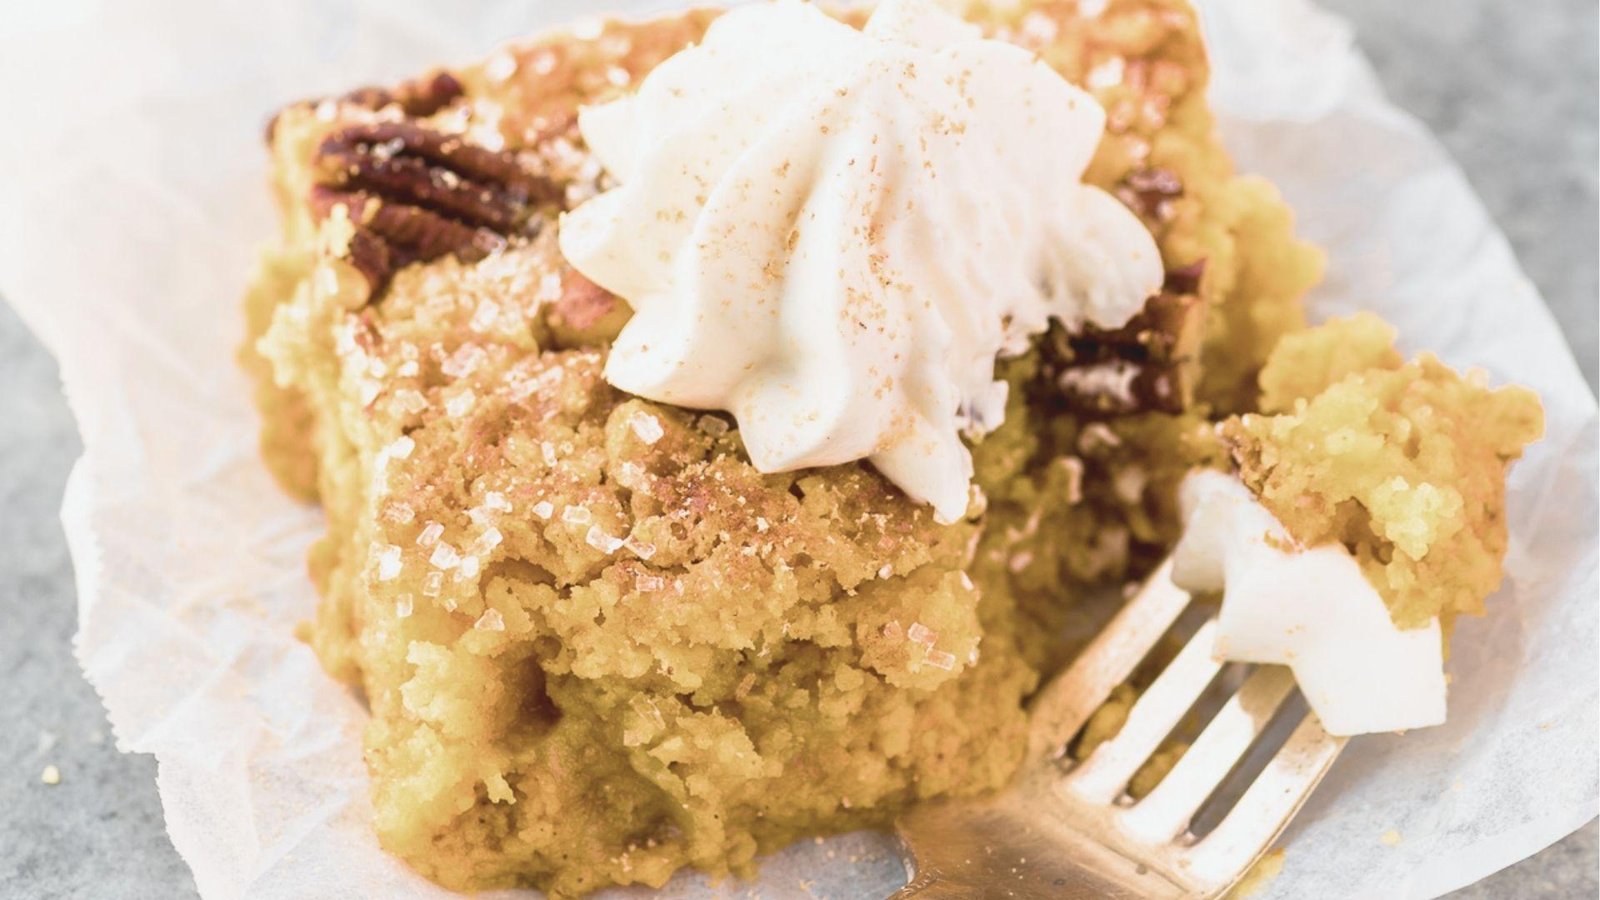
Remove the pan from the oven and let it cool for at least 30 minutes before slicing. This gives the custard time to firm up fully.
Cutting it too soon will give you a messy, soft slice. Once cooled, you can serve it warm, at room temperature, or chilled from the fridge.
Expert Tips for Perfect Pumpkin Crunch
Small changes in how you prepare and bake this dessert can make a big difference in the final result.
- Always use plain canned pumpkin puree, not pumpkin pie filling. Pie filling has added sugar and spices that throw off the balance of your recipe.
- Spread the dry cake mix into a flat, even layer before adding butter. Uneven coverage leads to patchy spots that come out dry and powdery instead of golden and crunchy.
- Drizzle melted butter slowly and cover every part of the topping. Missing even a small section means that area will not brown properly during baking.
- Check for doneness by gently shaking the pan at the 50-minute mark. The center should have just a slight jiggle. If it moves like liquid, give it more time.
- Let the pan rest for at least 30 minutes before slicing into it. The custard keeps setting as it cools, and cutting too soon will give you soft, messy slices.
Popular Pumpkin Crunch Variations
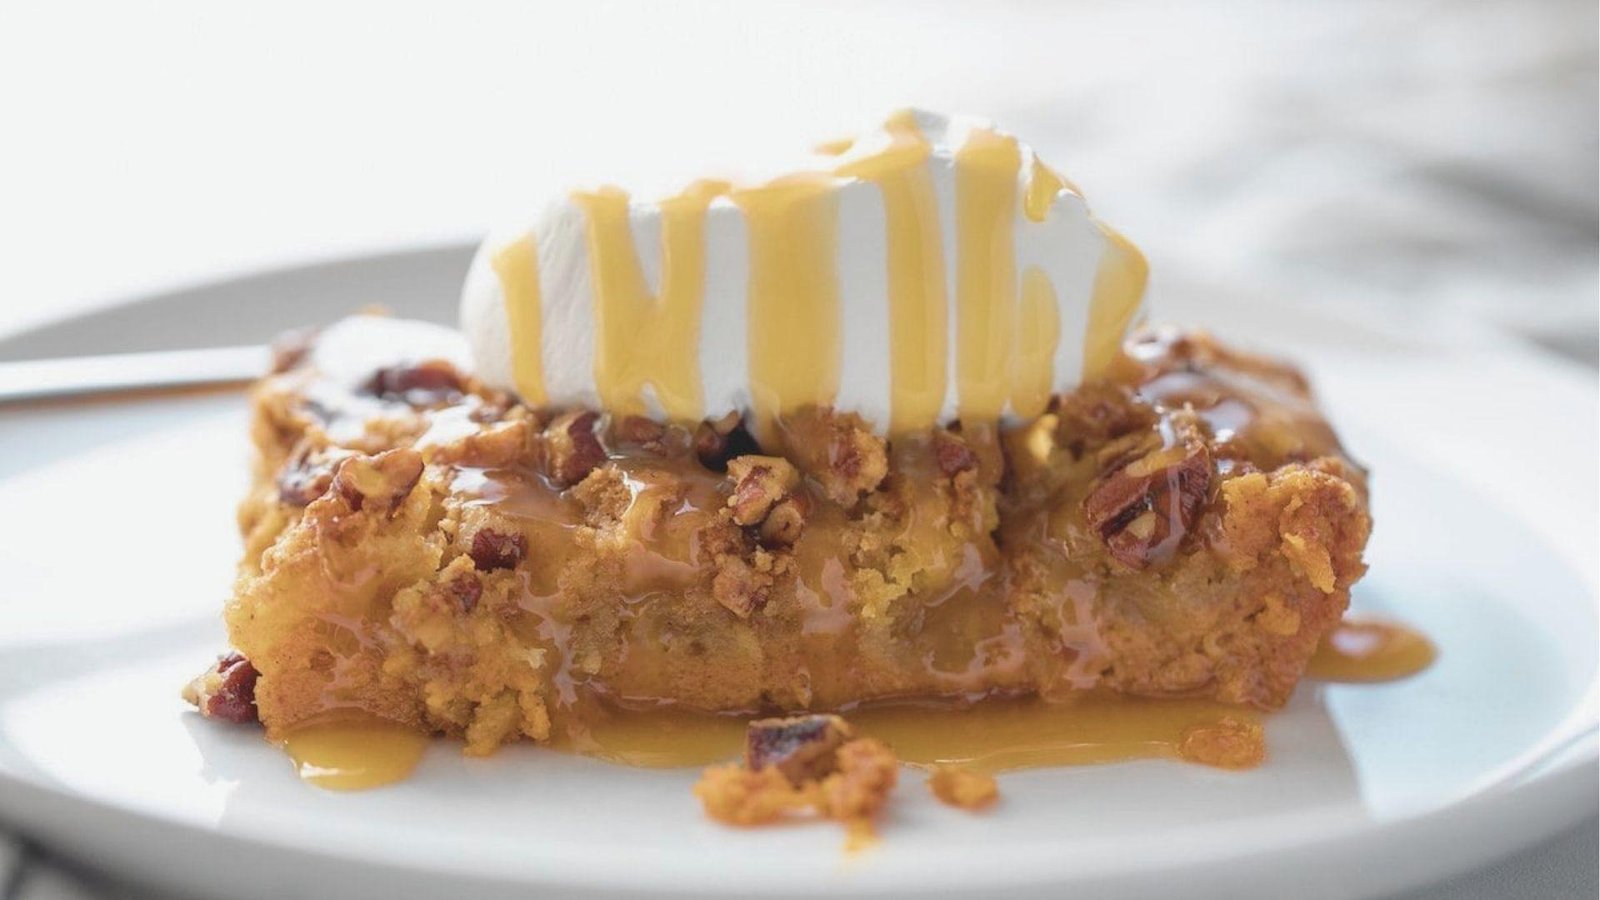
Pumpkin crunch has many tasty versions worth trying. The Hawaiian-style is the classic, with yellow cake mix, pecans, and butter over spiced pumpkin filling. It is the go-to dish at potlucks across Hawaii.
Want something richer? Try the cream cheese version. A layer of tangy cream cheese frosting over the cooled dessert balances the sweetness perfectly.
Love nuts? Go heavy on pecans for a buttery crunch, or use walnuts for a bolder, earthier flavor. Both hold up well during baking.
Baking for someone with dietary needs? A gluten-free cake mix works just as well. The texture stays very close to the original.
Serving Suggestions
Top each slice with whipped cream, a scoop of vanilla ice cream, or a drizzle of caramel sauce for a richer finish.
For drinks, hot coffee or chai tea pair naturally with the warm spices in this dessert. Apple cider works well too if you prefer something cold.
Serve it at Thanksgiving, holiday potlucks, or any fall family gathering. It also makes a great Sunday dessert when you want something homemade without much effort.
How to Store and Freeze Pumpkin Crunch
Once cooled, cover the pan tightly or store slices in an airtight container. It keeps in the refrigerator for up to 4 days. The topping softens slightly over time but the flavor stays good.
To freeze, wrap individual slices in plastic wrap and place them in a freezer-safe bag. They last up to 2 months. Thaw overnight in the fridge, then reheat in the oven at 300°F for 10 to 15 minutes or microwave for 30 to 45 seconds.
Common Mistakes to Avoid
Even simple recipes go wrong. Here are the most common pumpkin crunch mistakes and how to avoid them.
- Do not use pumpkin pie filling. It already has sugar and spices added, which makes the filling too sweet. Always grab plain pumpkin puree with 100% pumpkin on the label.
- Do not overbake the custard layer. Baking too long makes it rubbery and dry instead of creamy. Pull it out once the topping is golden and the center has just a slight jiggle.
- Cover every spot with butter. Dry patches of cake mix will bake up powdery and undercooked. Drizzle the butter slowly and use a spoon to reach any dry corners.
- Do not cut into it too soon. A hot pumpkin crunch will fall apart and look messy on the plate. Wait at least 30 minutes after baking before you slice into it.
- Refrigerate before slicing for clean cuts. Once it cools to room temperature, pop it in the fridge for a few hours. Cold dessert slices much cleaner and holds its shape better on the plate.
Conclusion
Pumpkin crunch is one of those recipes that looks fancy but takes very little effort. I made it the first time for a potluck, nervous it would not set right. It came out perfectly. Everyone asked for the recipe.
Now it is your turn. Give this recipe a try the next time fall rolls around.
Leave a comment and let me know how it went. Did you try a variation? Add a topping? I would love to hear about it. Share this post with a friend who loves pumpkin desserts.
Frequently Asked Questions
Can I make pumpkin crunch the day before?
Yes. Cover and refrigerate it overnight. The flavors actually get better after resting.
Can I use fresh pumpkin instead of canned?
You can, but strain it well first. Fresh pumpkin has more water and can make the filling too soft.
How do I know when pumpkin crunch is done baking?
The top should be golden brown and the center should have just a slight jiggle when you shake the pan.
Can I make pumpkin crunch without nuts?
Yes. Simply skip the nuts. The cake mix and butter topping will still bake up crispy and delicious.
Why did my topping come out dry and powdery?
The butter was not spread evenly. Make sure every part of the dry cake mix gets covered with melted butter before baking.