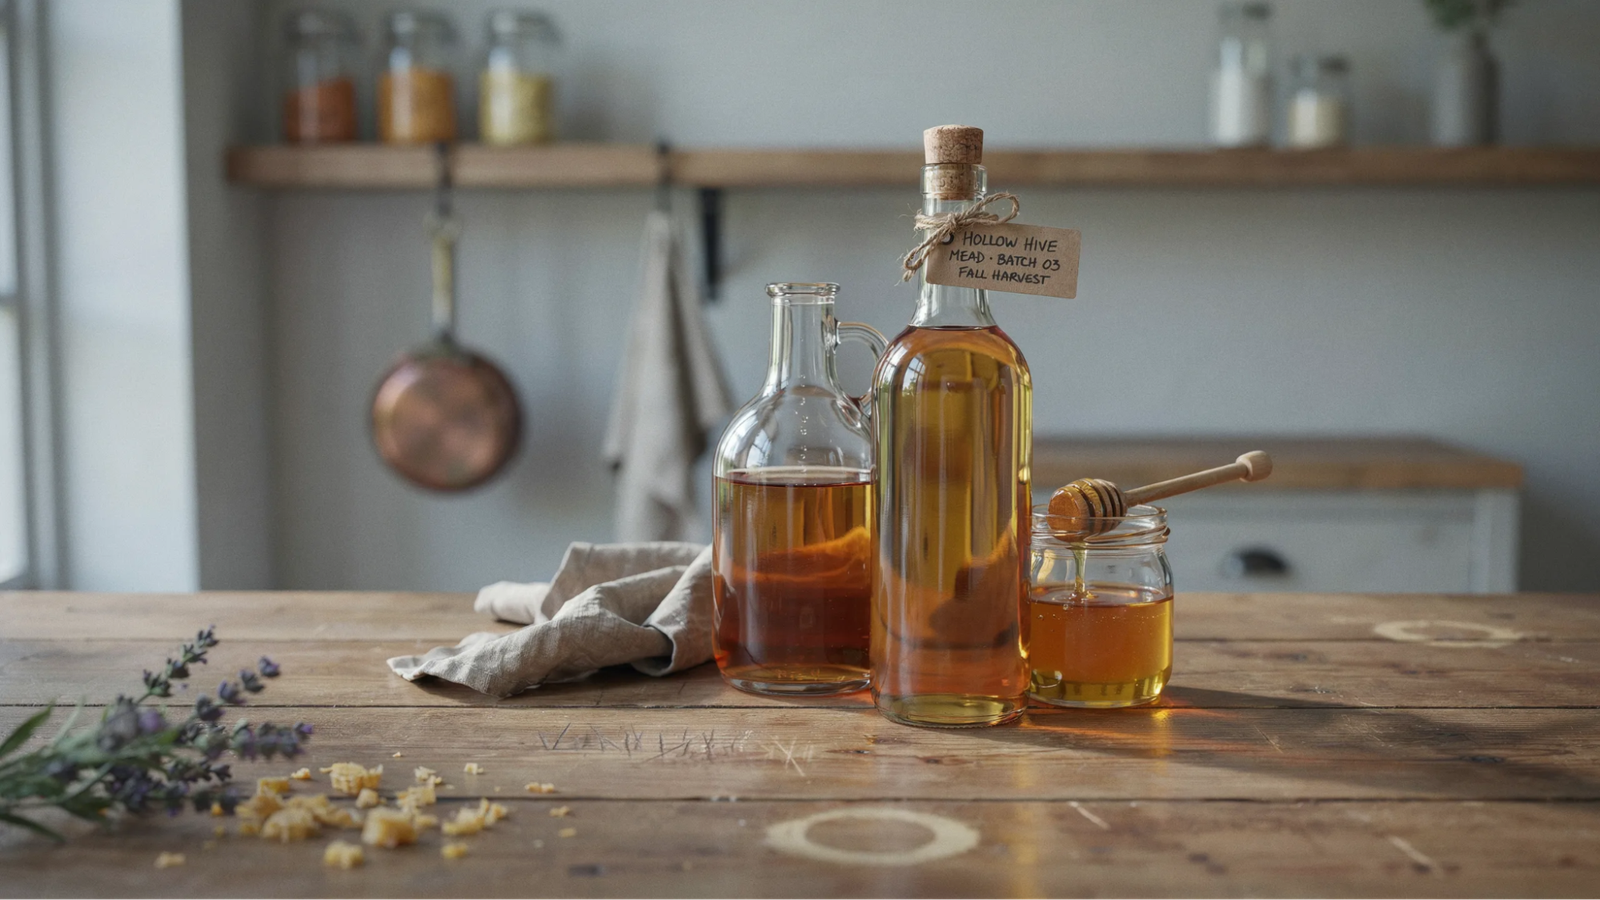
I made my first honey mead recipe for beginners in a tiny apartment kitchen with just a glass jug and some wildflower honey. It worked, and it tasted better than I expected.
Mead is one of the oldest drinks in the world, but making it at home is simpler than most people think. You don’t need fancy equipment or brewing experience to get started.
In this guide, I’ll walk you through the exact ingredients you need, basic equipment, a step-by-step process, and tips for better results.
I’ve brewed dozens of batches, and this beginner method is the one I always recommend first.
Honey Mead Recipe for Beginners Overview
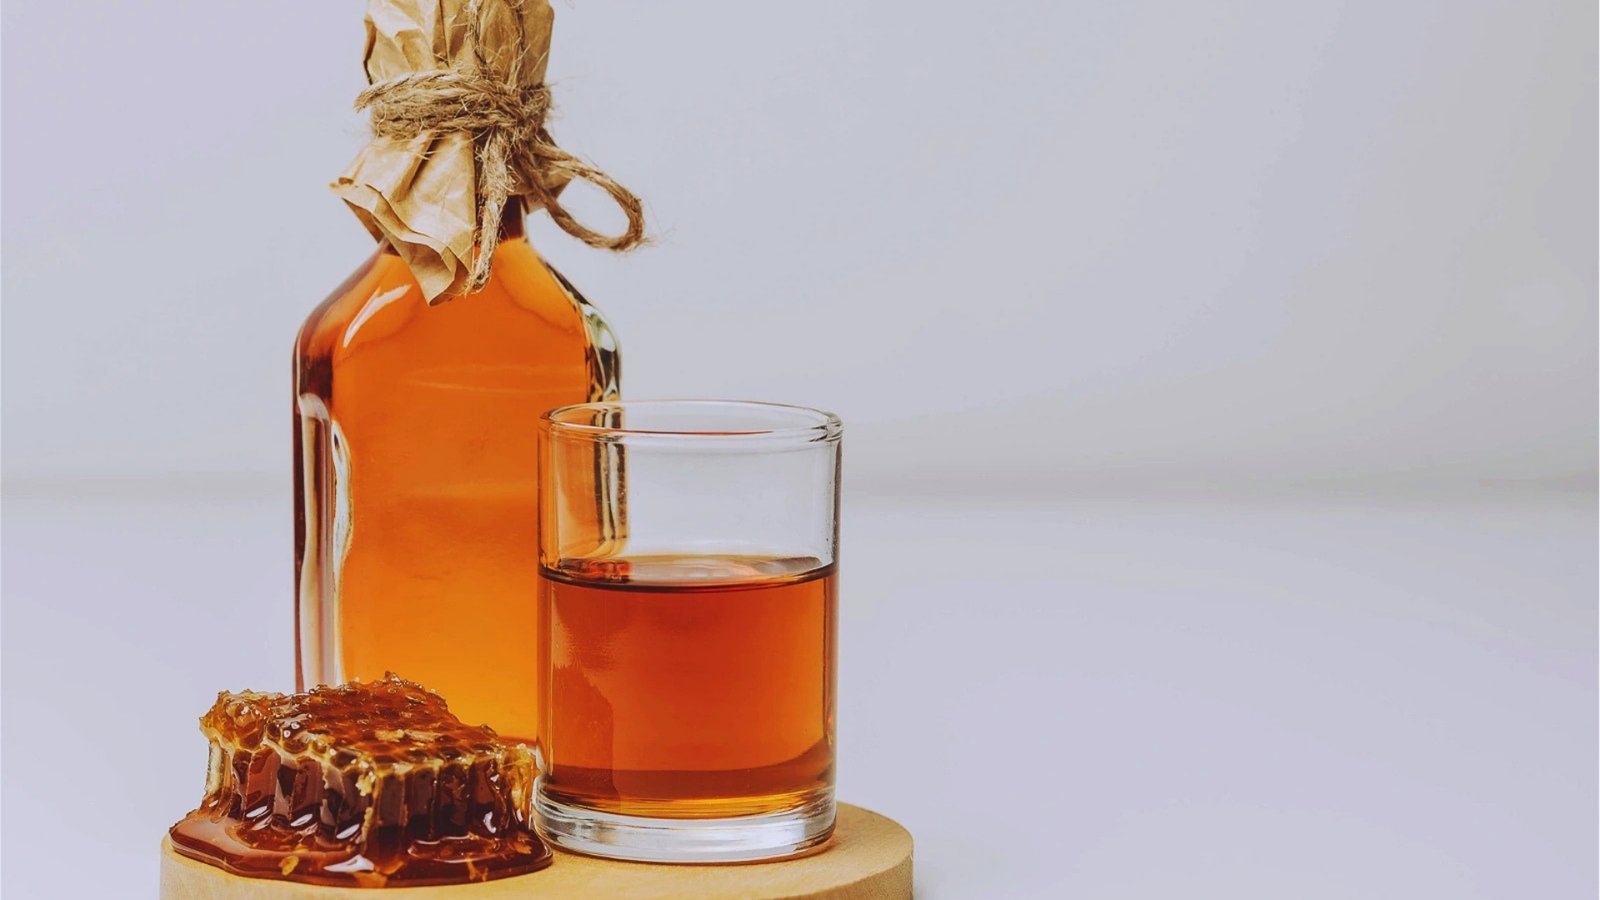
This recipe uses just three core ingredients and a small one-gallon batch, so there is less waste if something goes wrong.
Smaller batches are easier to manage, faster to ferment, and great for trying new flavors without committing to a large amount.
Most tools are available at a homebrew shop or online. Finished mead usually tastes light, floral, and mildly sweet, with flavor depending heavily on the honey you choose.
Fermentation takes 4 to 8 weeks in total. Alcohol content typically falls between 8% and 14%, depending on how much honey you use and when fermentation stops.
Ingredients for Honey Mead Recipe (1 Gallon)
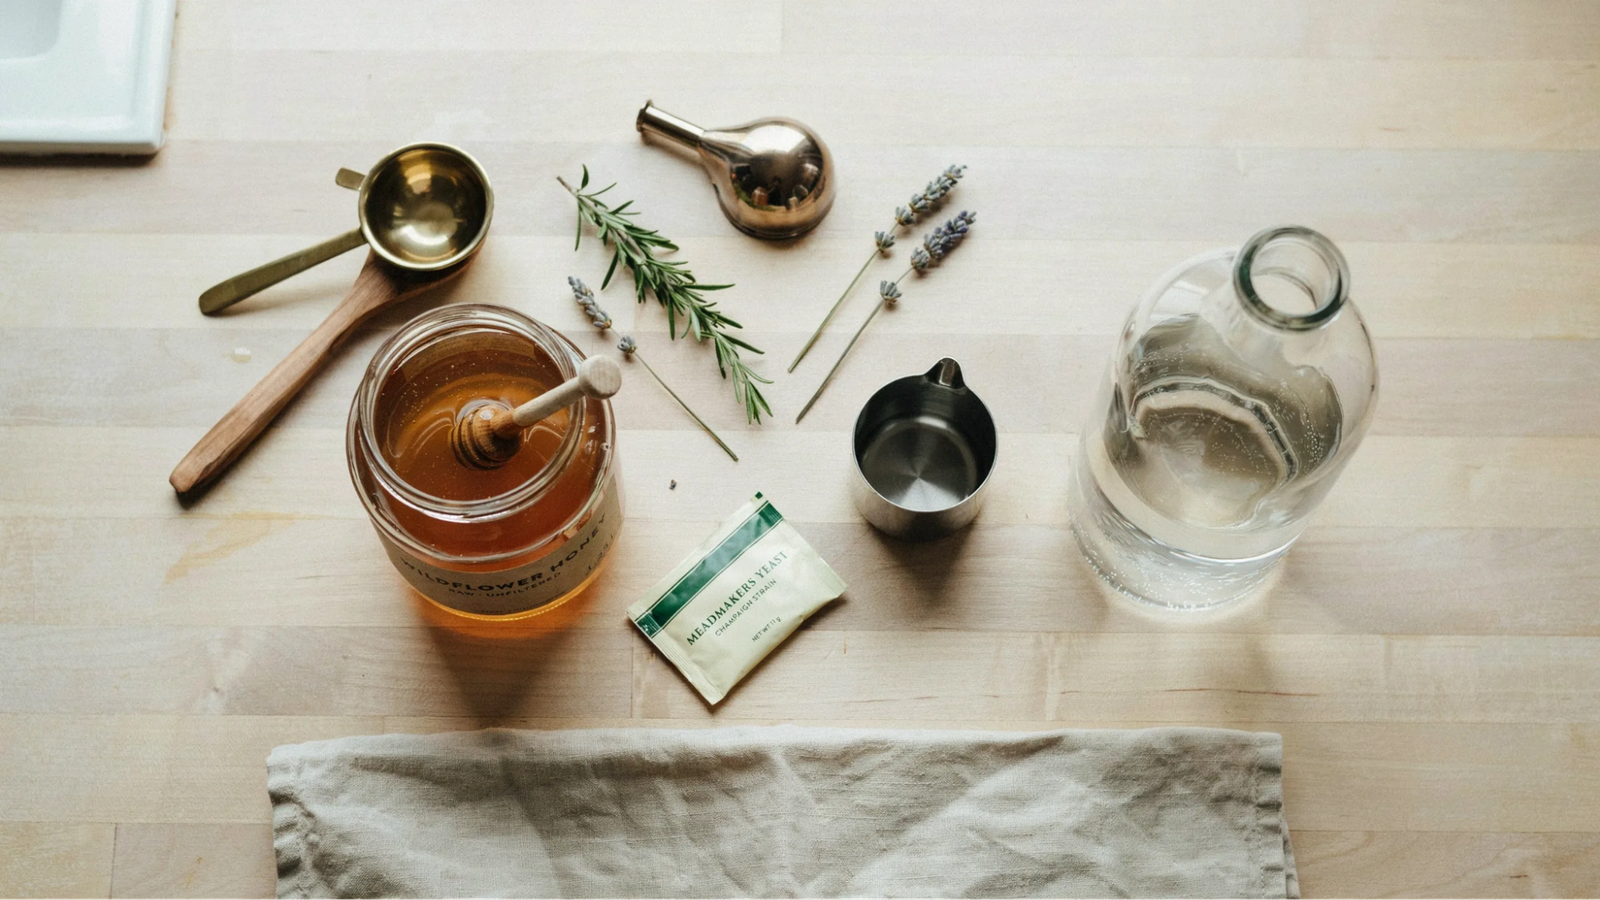
Simple, affordable ingredients that are easy to find anywhere.
Important Ingredients
Honey: Use 2 to 3 pounds for a one-gallon batch. Raw, local honey gives the best flavor. Wildflower honey tastes floral. Clover honey is mild and clean. Orange blossom adds a citrus note.
Yeast: Champagne yeast ferments fast and clean. Wine yeast gives a slightly richer flavor. Either works well for beginners.
Water: Use filtered or spring water. Tap water with chlorine can kill yeast or affect taste.
Optional Add-Ins for Flavor
You can add fruits or spices to the must (the honey-water mixture) before fermentation.
Good options include:
- Berries (strawberry, blueberry, raspberry)
- Citrus peel (orange, lemon)
- Spices (cloves, cardamom, nutmeg)
Start small. One or two additions are enough for your first batch.
Equipment Needed for Beginner Mead Making
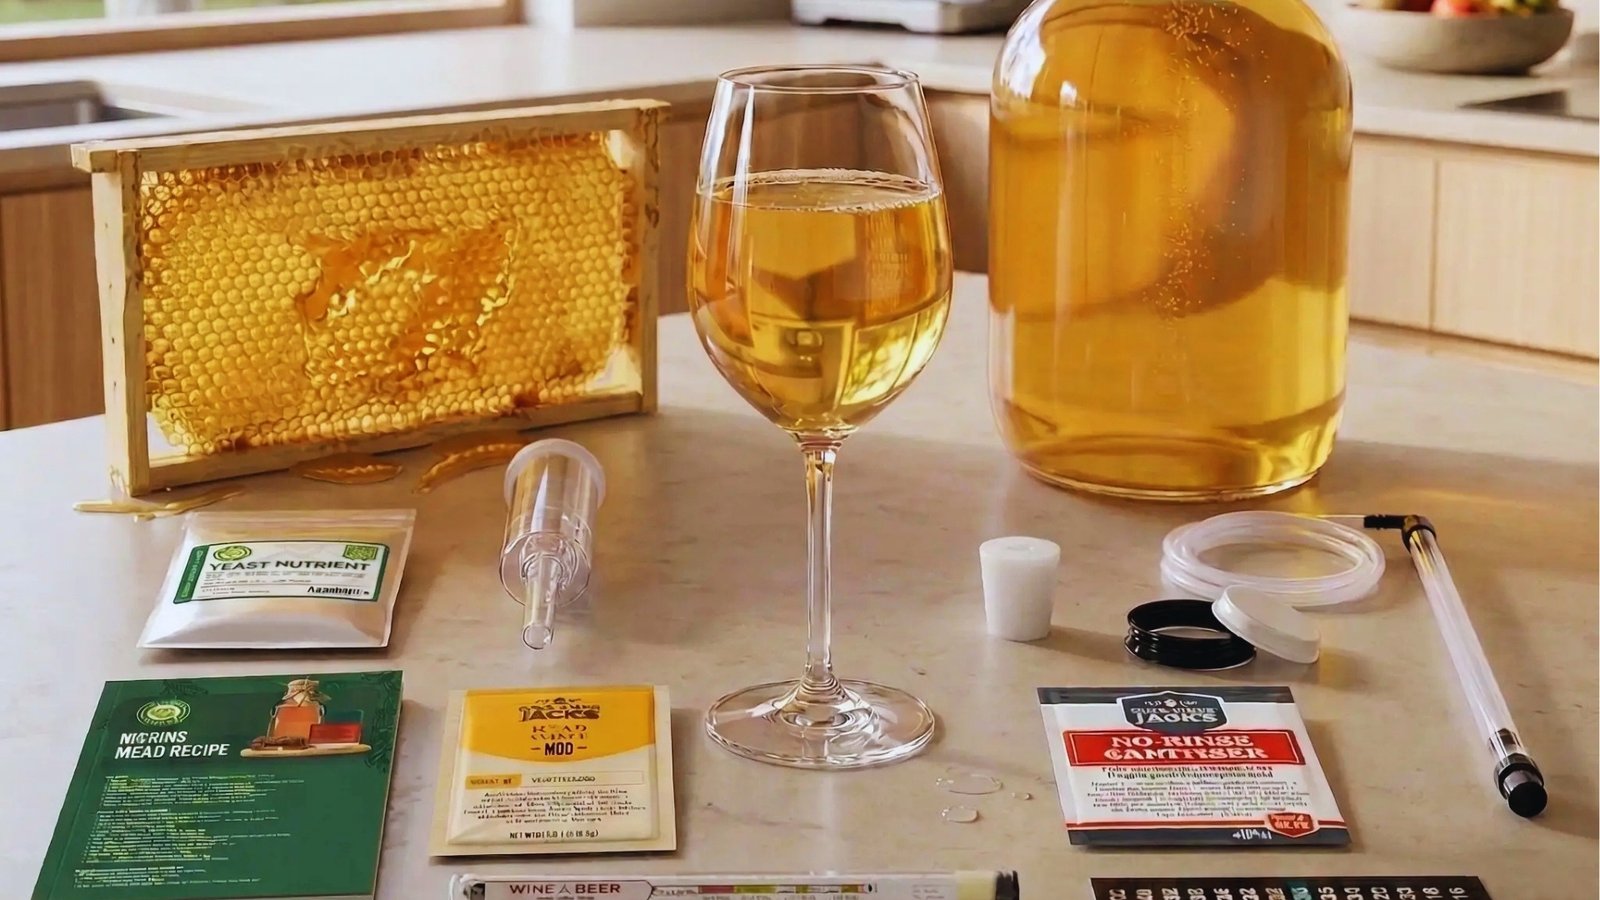
You don’t need much. These basic tools cover everything.
Basic Tools List
- One-gallon glass jug (carboy)
- Airlock and rubber stopper
- Funnel
- Siphon or auto-siphon
- Sanitizer (Star San works well)
- Large spoon or stirring rod
Why Sanitization Is Important
This is the most important step people skip. Any bacteria or wild yeast on your equipment can spoil the whole batch. It won’t make you sick, but it will make your mead taste bad.
Rinse every tool with a no-rinse sanitizer before use. This takes five minutes and protects weeks of work.
Step-by-Step Honey Mead Recipe Process
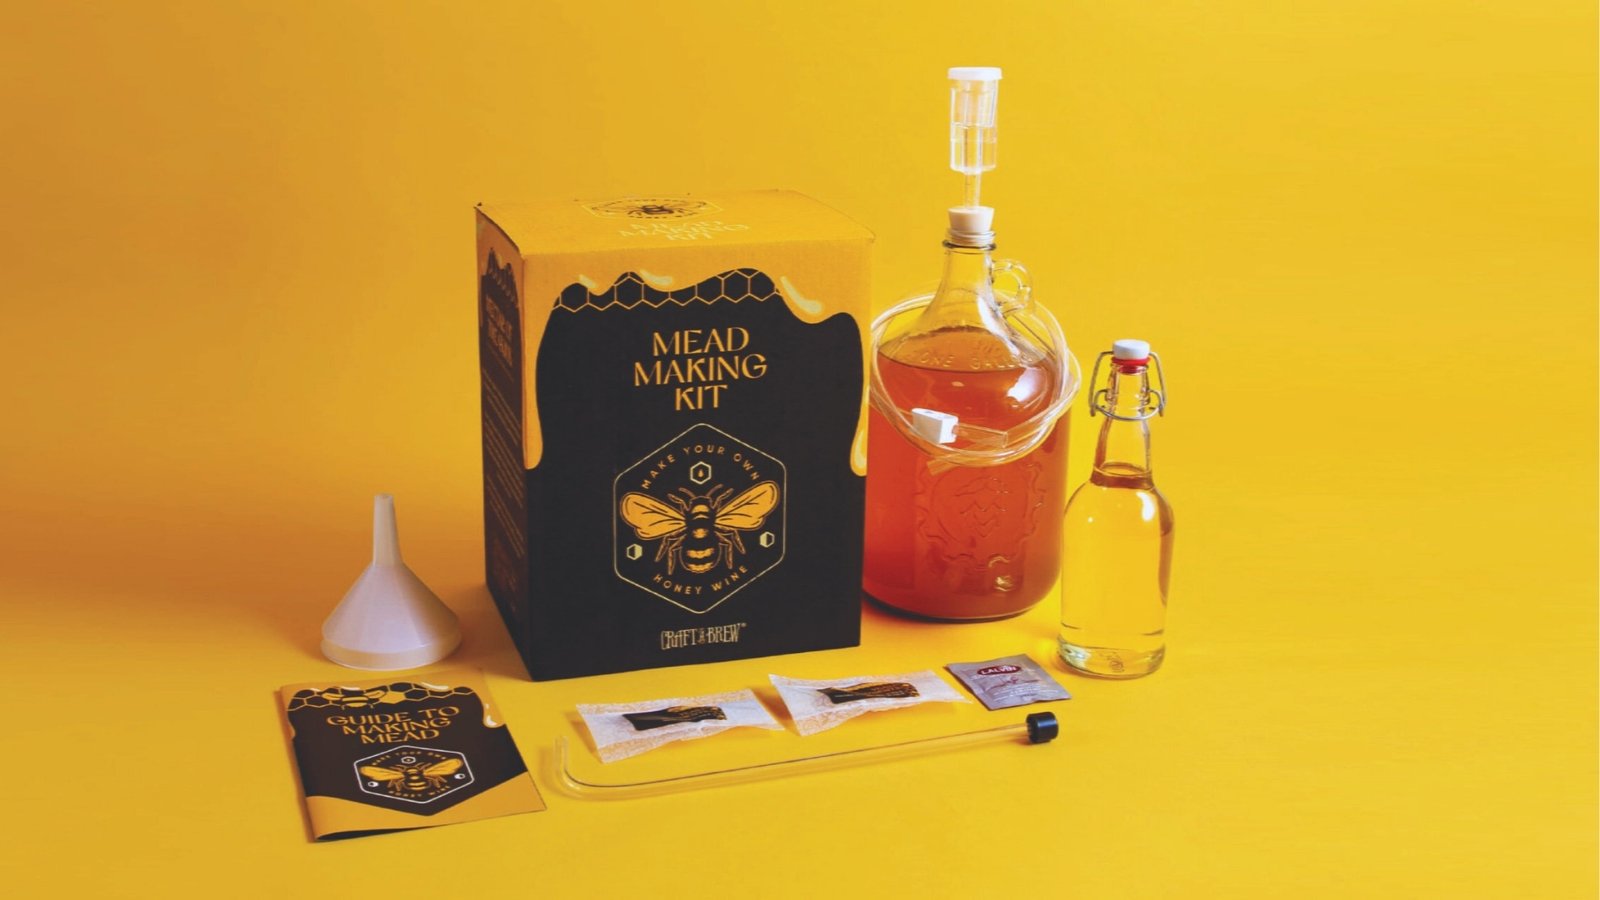
Follow these steps in order for the best results.
Step 1: Sanitize Everything
Before touching any ingredient, make sure you sanitize all your tools properly. Mix Star San with water, coat every surface, and let it air dry completely.
Do not rinse it off after applying because rinsing removes its effect. This one step protects your entire batch from bacteria and bad flavors.
Step 2: Make the Must
Warm about half a gallon of non-chlorinated water to around 90°F but never let it boil. Stir your honey in slowly until it fully dissolves into the warm water.
Add any fruits or spices you want to include at this stage. Pour everything into your sanitized jug and top it off with cool water to reach one gallon.
Step 3: Add Yeast and Start Fermentation
Sprinkle yeast directly into the must or rehydrate it in warm water for about 10 minutes first. Keep your jug in a spot where the temperature stays between 65°F and 75°F consistently.
Attach the airlock filled halfway with water or sanitizer to let gases escape safely. Leave it alone in a stable spot and let the yeast begin its work.
Step 4: Primary Fermentation (4 to 6 Weeks)
Within 24 to 48 hours you should start seeing bubbles moving through the airlock regularly. Activity will be strong in the first week and then slowly start to calm down.
When the airlock stops bubbling for two to three days in a row, primary fermentation is complete. Avoid opening the jug too often because this can introduce unwanted bacteria.
Step 5: Secondary Fermentation and Aging
Carefully siphon your mead into a clean sanitized jug and leave all the sediment behind. Attach a fresh airlock and let the mead sit quietly for another two to four weeks.
This step helps the mead clear up and the flavor becomes much smoother over time. The longer you give it to age, the better your final mead will taste.
Bottling and Storing Your Mead
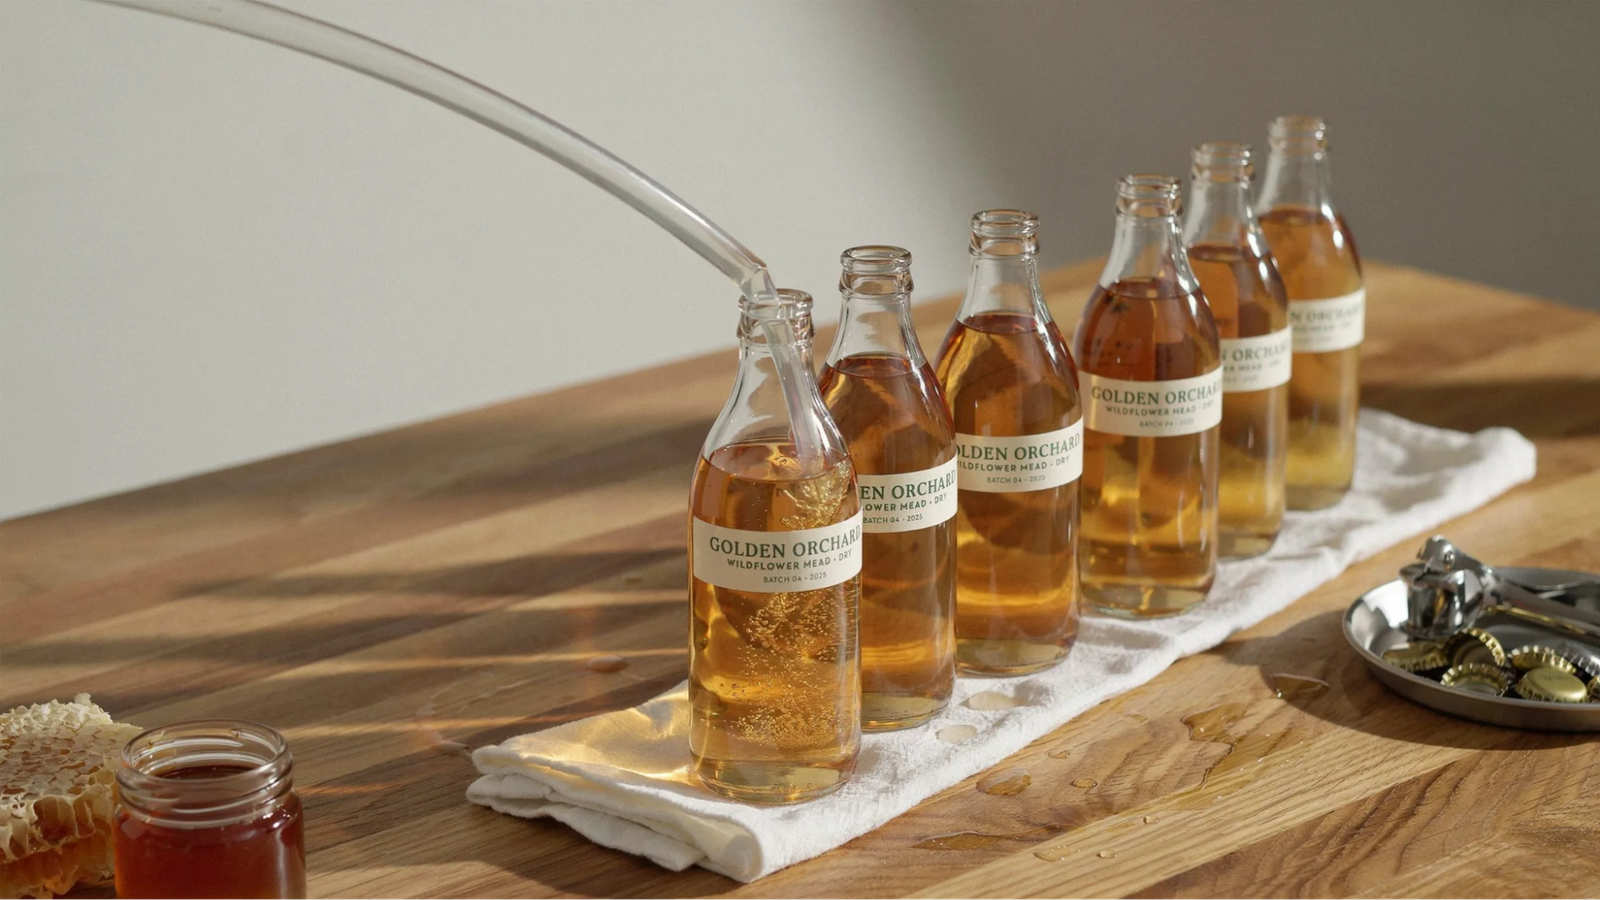
Knowing when and how to bottle makes a big difference in the final product.
When Mead Is Ready to Bottle
Your mead is ready when it looks clear (not cloudy) and tastes good to you. Use a hydrometer to check if fermentation has fully stopped.
Two identical readings three days apart means it’s done.
How to Bottle Properly
Sanitize your bottles before filling. Use a siphon to transfer mead without splashing. Splashing adds oxygen, which can affect taste.
Store bottles in a cool, dark place. A basement or cupboard works fine.
How Flavor Changes Over Time
Fresh mead can taste sharp or alcohol-forward. After two to three months of bottle aging, it smooths out noticeably.
Six-month-old mead often tastes completely different from the same batch at one month. Patience pays off.
Tips for the Best Honey Mead Recipe
Small habits that make a real difference in your final batch.
- Always choose raw or local honey over cheap store honey because it makes up 90% of your mead’s flavor.
- Keep your fermentation space consistent and away from direct sunlight to avoid temperature problems with your yeast.
- Avoid opening the jug too often or bottling too early because patience is the most important beginner skill.
- After your first plain batch, try adding frozen blueberries or orange peel to completely change your mead’s character.
- Sanitize every single tool before use every time because this one habit protects your entire batch from spoilage.
Conclusion
Making mead for the first time feels a little intimidating, but I promise it’s easier than it looks.
I still remember tasting my first batch after eight weeks and thinking, “I actually made this.” That feeling is worth every bit of waiting.
Start simple. Use good honey, keep things clean, and be patient. Your first honey mead recipe for beginners doesn’t have to be perfect. It just has to get done.
Try it, and drop a comment below telling me how it went. I’d love to hear about your first batch.
Frequently Asked Questions
How long does it take to make honey mead for beginners?
A basic batch takes around 6 to 8 weeks from start to finish. Aging it longer after bottling improves the flavor significantly.
Can I use any type of honey for mead?
Yes, but raw or local honey always gives a much better flavor than processed options. Avoid honey with added flavors or preservatives as they affect fermentation.
What yeast is best for a beginner honey mead recipe?
Champagne yeast is the most forgiving and reliable option for anyone brewing for the first time. It ferments clean, fast, and works well with most honey types.
How do I know if my mead has gone bad?
Bad mead smells strongly like vinegar or nail polish remover, which is a clear warning sign. A slight off-taste is normal in young mead but strong unpleasant smells mean something went wrong.
Do I need to refrigerate mead while it ferments?
No, refrigeration is not needed and will actually stop your fermentation too early. Room temperature between 65°F and 75°F is the ideal range for steady fermentation.