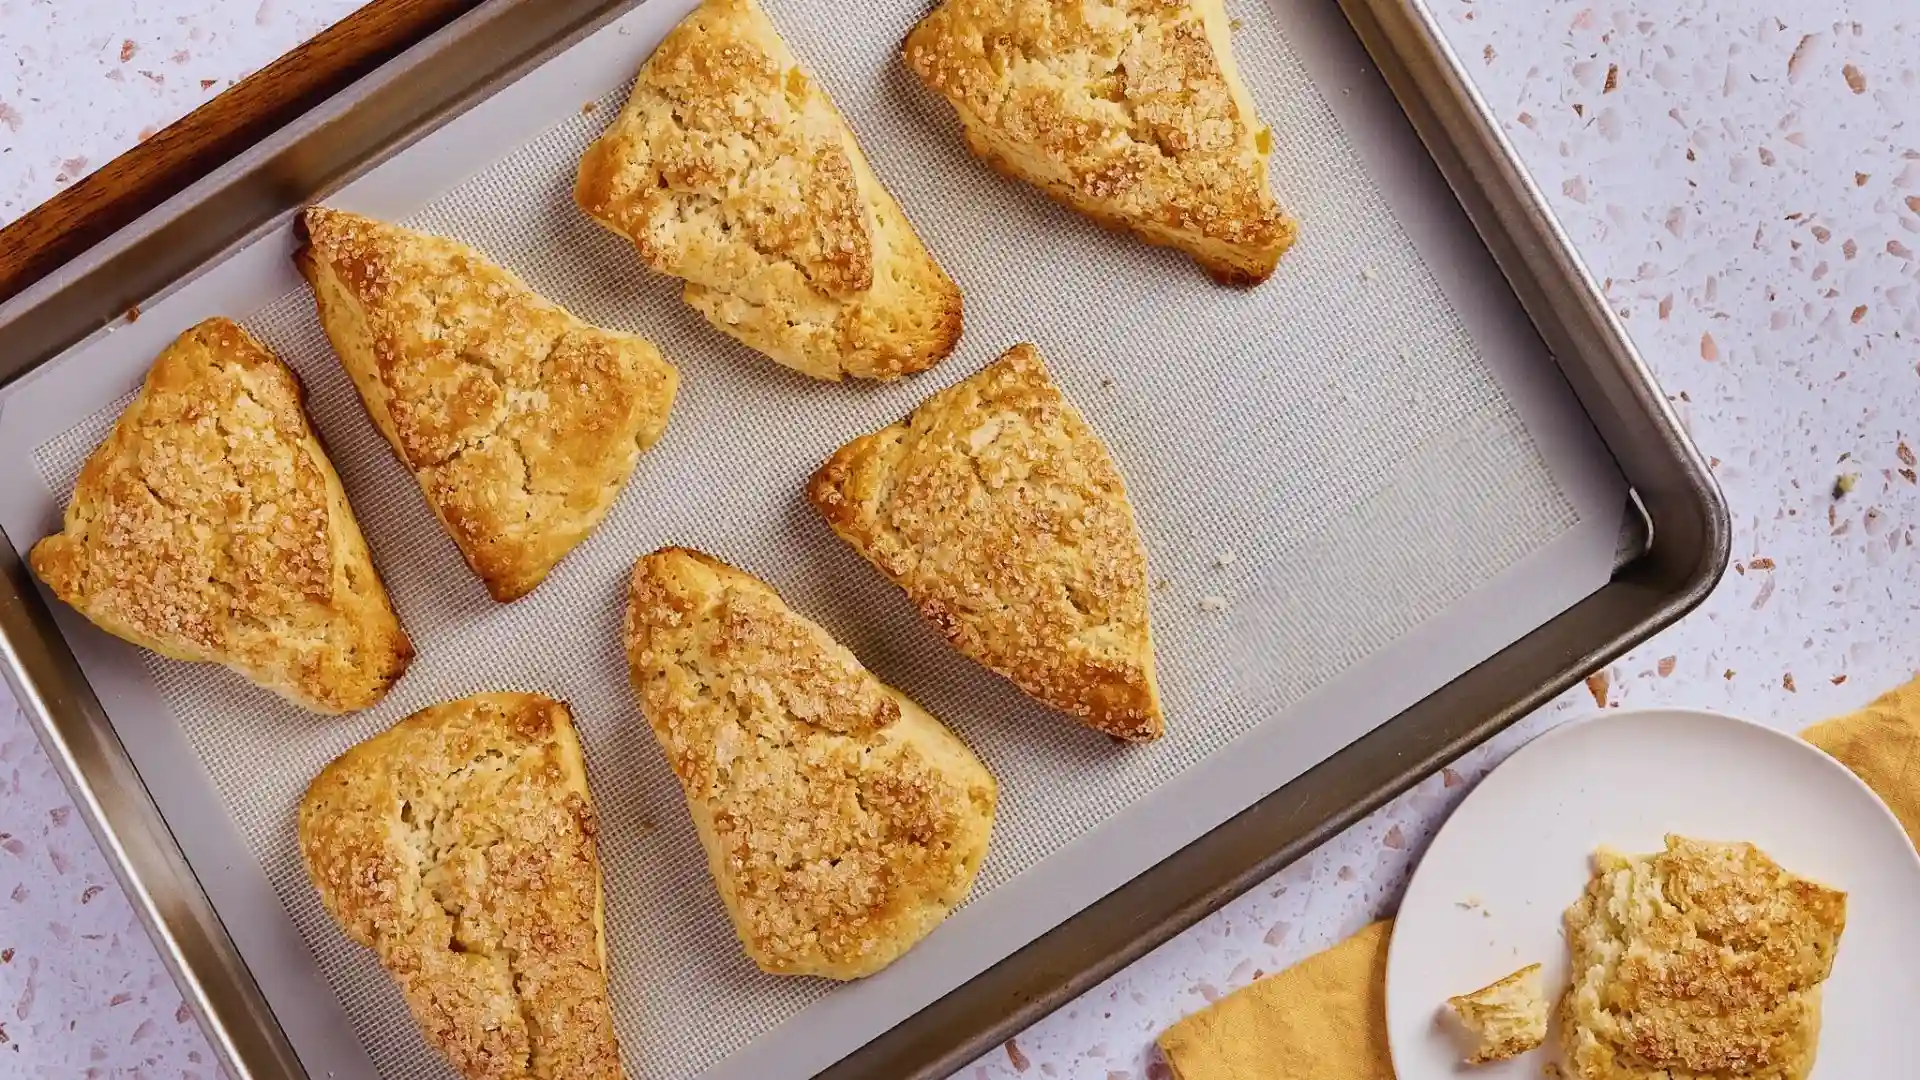
I burned my first batch of scones. Overbaked, dry, and honestly embarrassing. I thought scones were just hard to make.
Then I found a ginger scones recipe that actually made sense. Simple steps, real ingredients, and results that tasted like something from a good bakery.
In this post, I'll walk you through everything. The ingredients, the method, the tips that actually matter, and a few fun variations worth trying.
I'll also show you what makes this recipe work every single time and how to nail the texture without any guesswork.
I've tested this more than once. The results are consistent. And by the end of this post, yours will be too.
Why This Ginger Scones Recipe Works Every Time
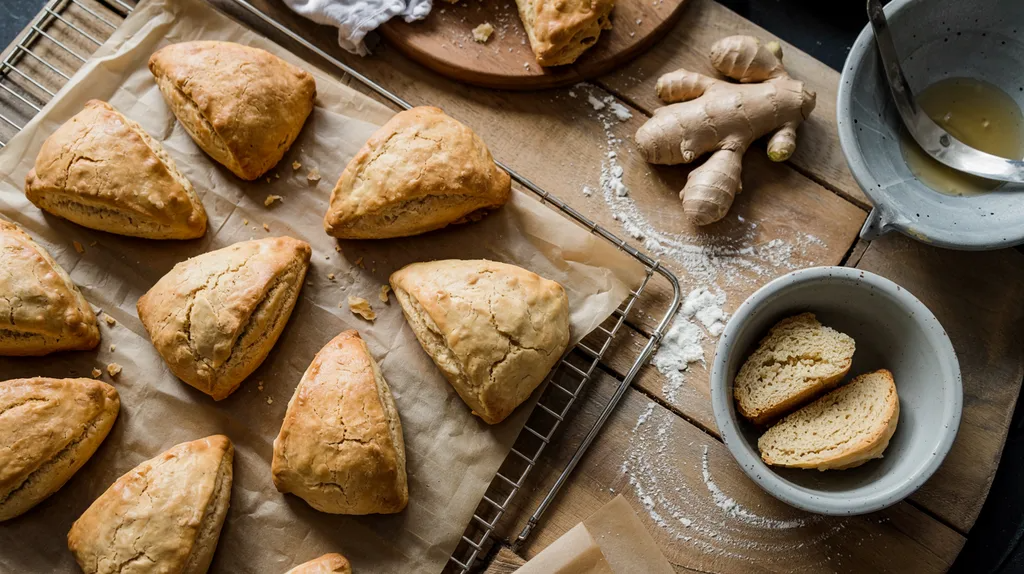
This recipe is one I keep coming back to. It gives soft, flaky scones with a slightly crisp outside, every single time. No guessing. No stress.
The ginger flavor is strong but not sharp. It hits just right. The sourdough discard base adds a gentle tang that keeps things from feeling too sweet or too heavy.
What I love most is how forgiving this recipe is. You don't need fancy equipment or baking experience.
The method is simple, the bake time is under 40 minutes, and the results feel like something from a good bakery. Whether you've baked scones ten times or zero, this works.
Key Ingredients for Ginger Scones Recipe
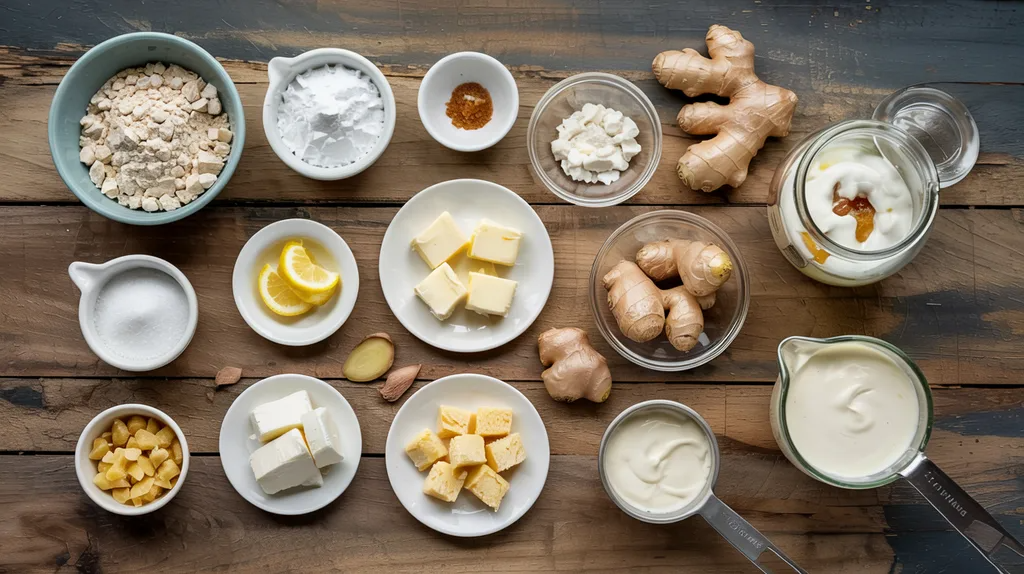
Good scones start with the right ingredients. Here's what you need.
For the dough:
- 220g (1 ¾ C + 1 TBSP) all-purpose flour
- 62g (¼ C + 1 TBSP) sugar
- 10g (1 TBSP) baking powder
- 3g (½ tsp) salt
- 3g (1 TBSP) lemon zest
- 113g (8 TBSP) cold butter
- 212g (about 1 C) sourdough starter discard
- 132g (½ C + 2 TBSP) heavy cream
- 35g (¼ C) candied ginger, diced
For the topping:
- 20g (1 ½ TBSP) heavy cream
- 15g (1 TBSP) coarse sugar
Step-by-Step Ginger Scones Recipe Method
Follow these steps closely and your scones will come out right every time.
Step 1: Mix Dry Ingredients with Lemon Zest
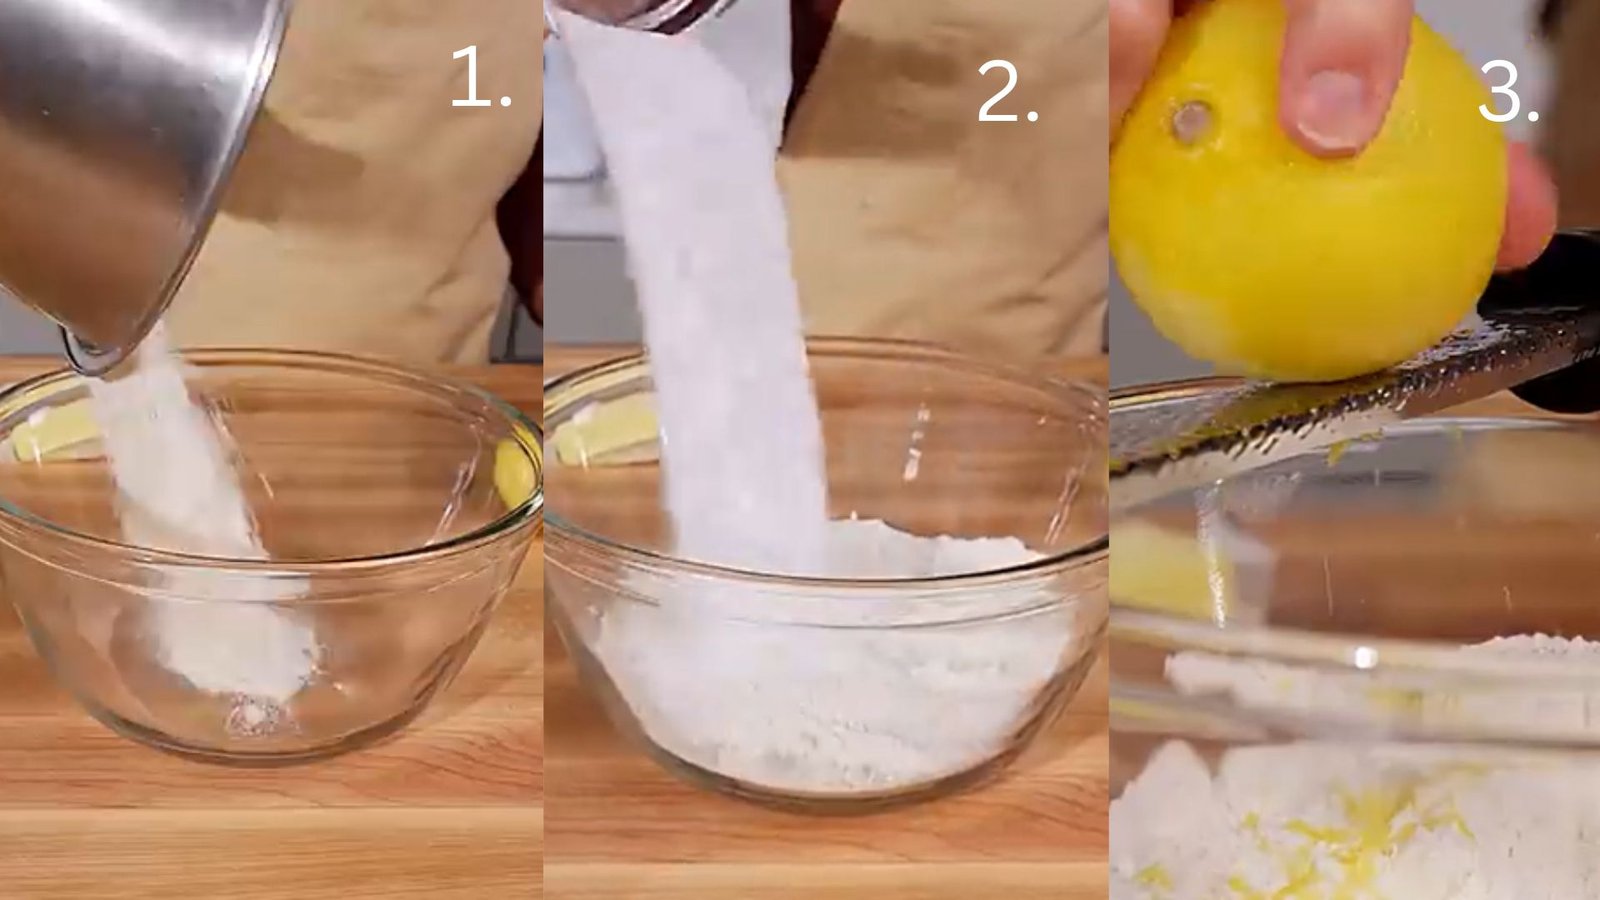
In a medium bowl, combine flour, sugar, baking powder, and salt. Add fresh lemon zest and mix well so the citrus flavor spreads evenly through the dry ingredients.
This step builds the flavor base of your ginger scones recipe and ensures every bite has a light, bright aroma balanced with sweetness and structure.
Step 2: Add Grated Cold Butter and Chill
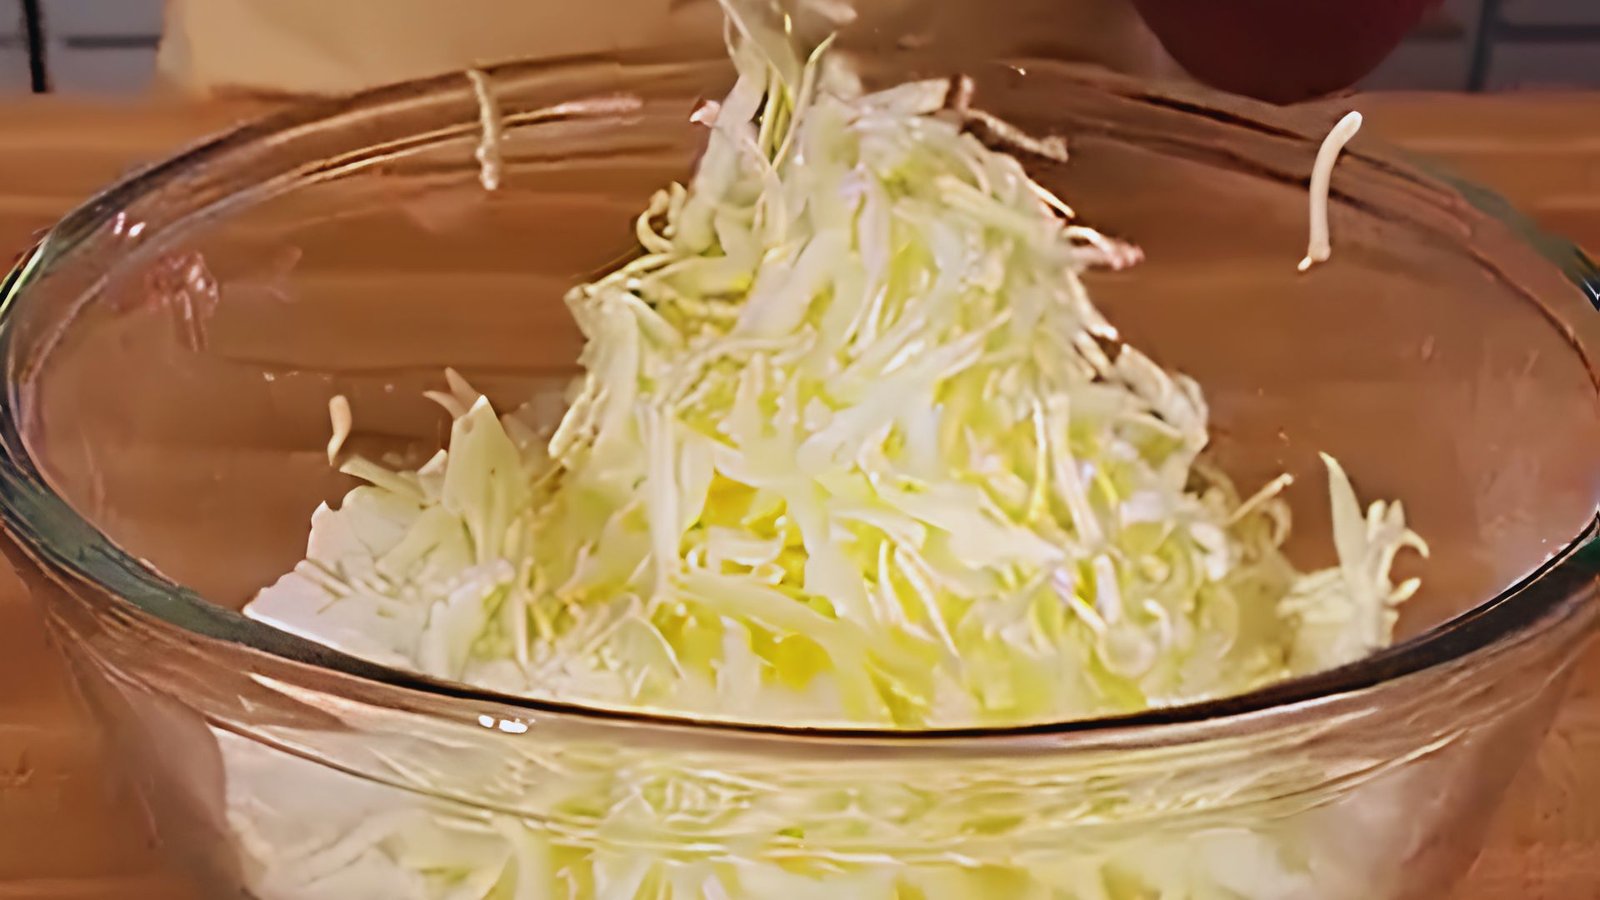
Grate cold butter directly into the dry mixture using a box grater. Toss gently so the butter coats the flour evenly, creating small crumbs that help form flaky layers.
Place the bowl in the freezer for 15 minutes. Keeping everything cold is key for tender, bakery-style ginger scones with a soft, layered texture.
Step 3: Add Candied Ginger and Combine Dough
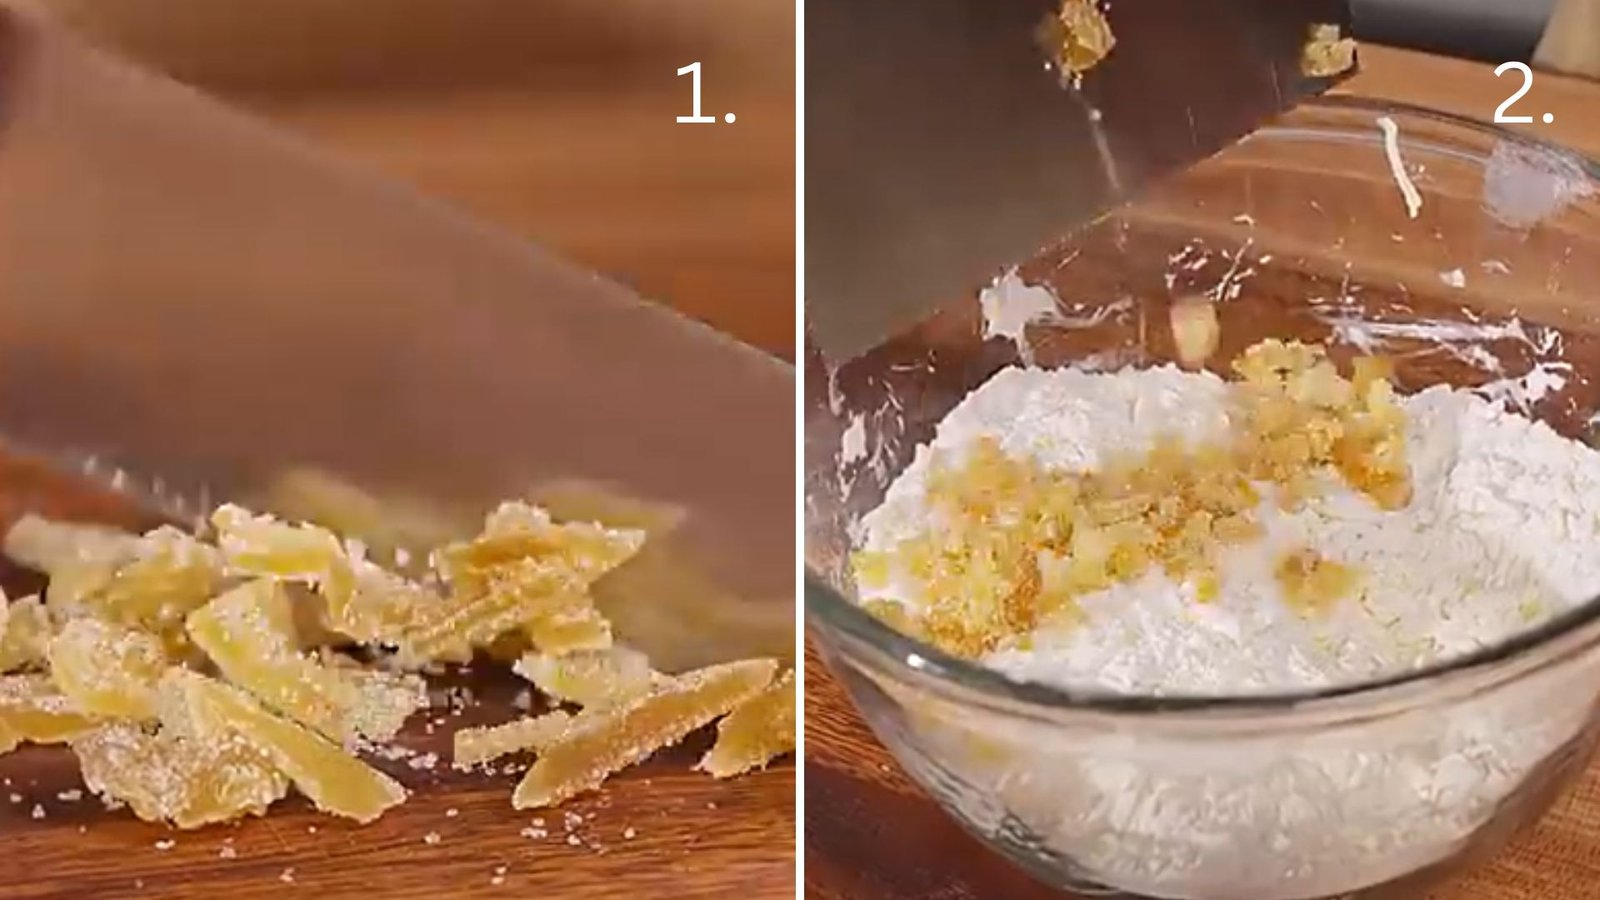
Remove the chilled flour mixture and add diced candied ginger for sweet-spicy bursts of flavor. Pour in the sourdough and cream mixture.
Gently stir until the dough just comes together. It should look shaggy and slightly uneven. Avoid overmixing, as this keeps your ginger scones soft, fluffy, and tender after baking.
Step 4: Prepare Sourdough Cream Mixture
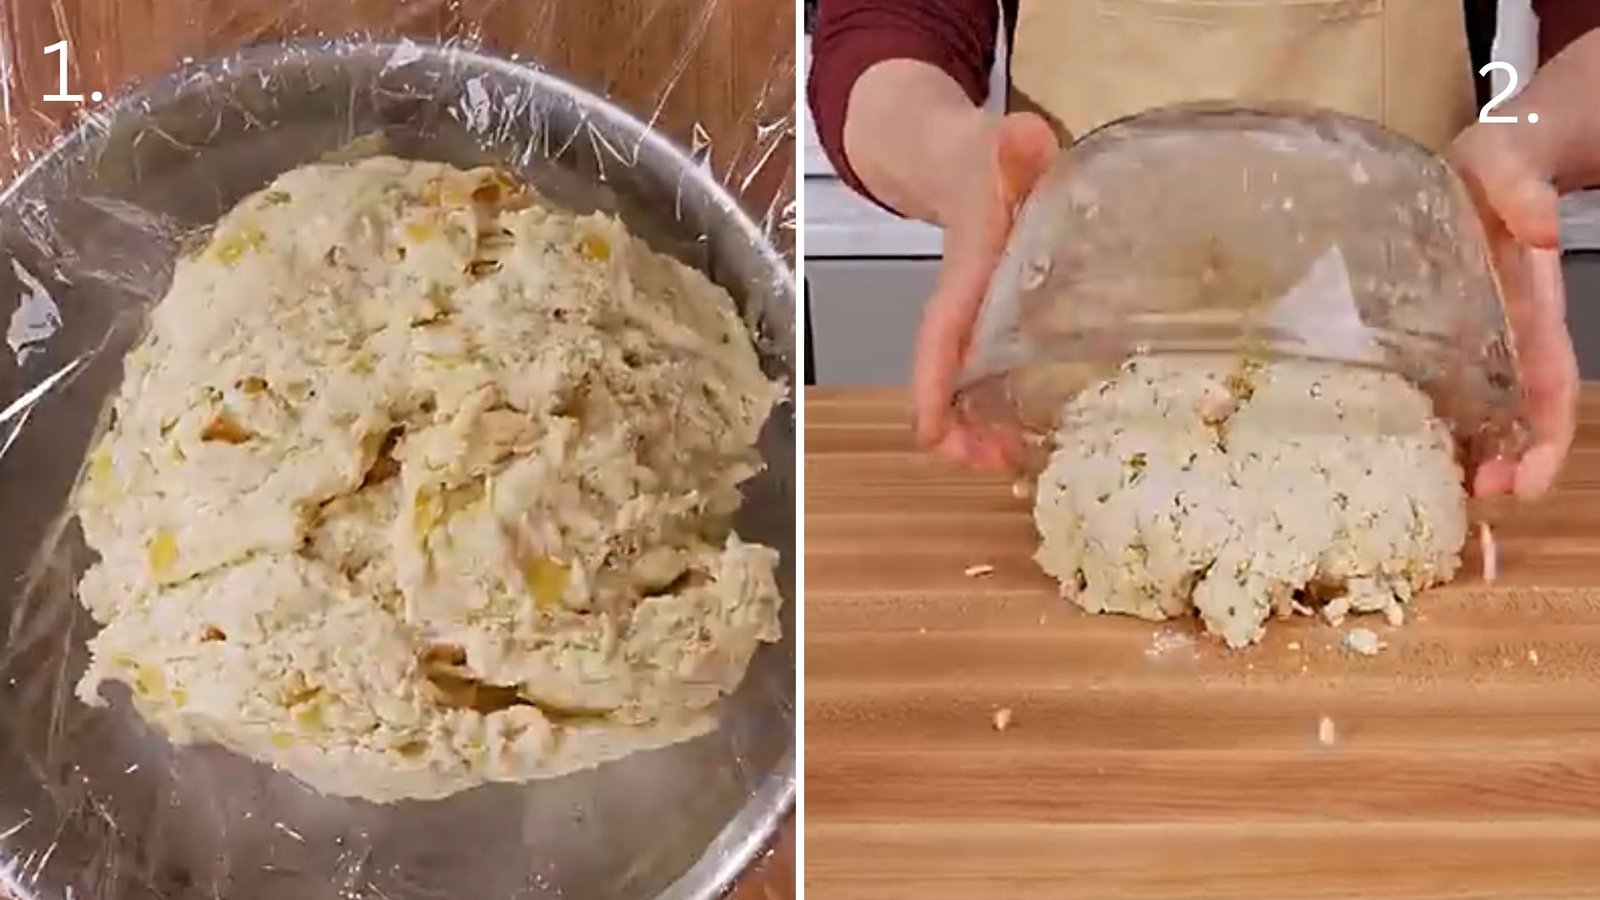
In a separate bowl, combine sourdough discard and heavy cream. Stir using a dough whisk or spoon until the mixture becomes smooth and fully blended.
This creamy base adds moisture, richness, and a subtle tang to your ginger scones recipe. It helps balance sweetness while supporting a soft, tender crumb after baking.
Step 5: Shape and Chill the Dough
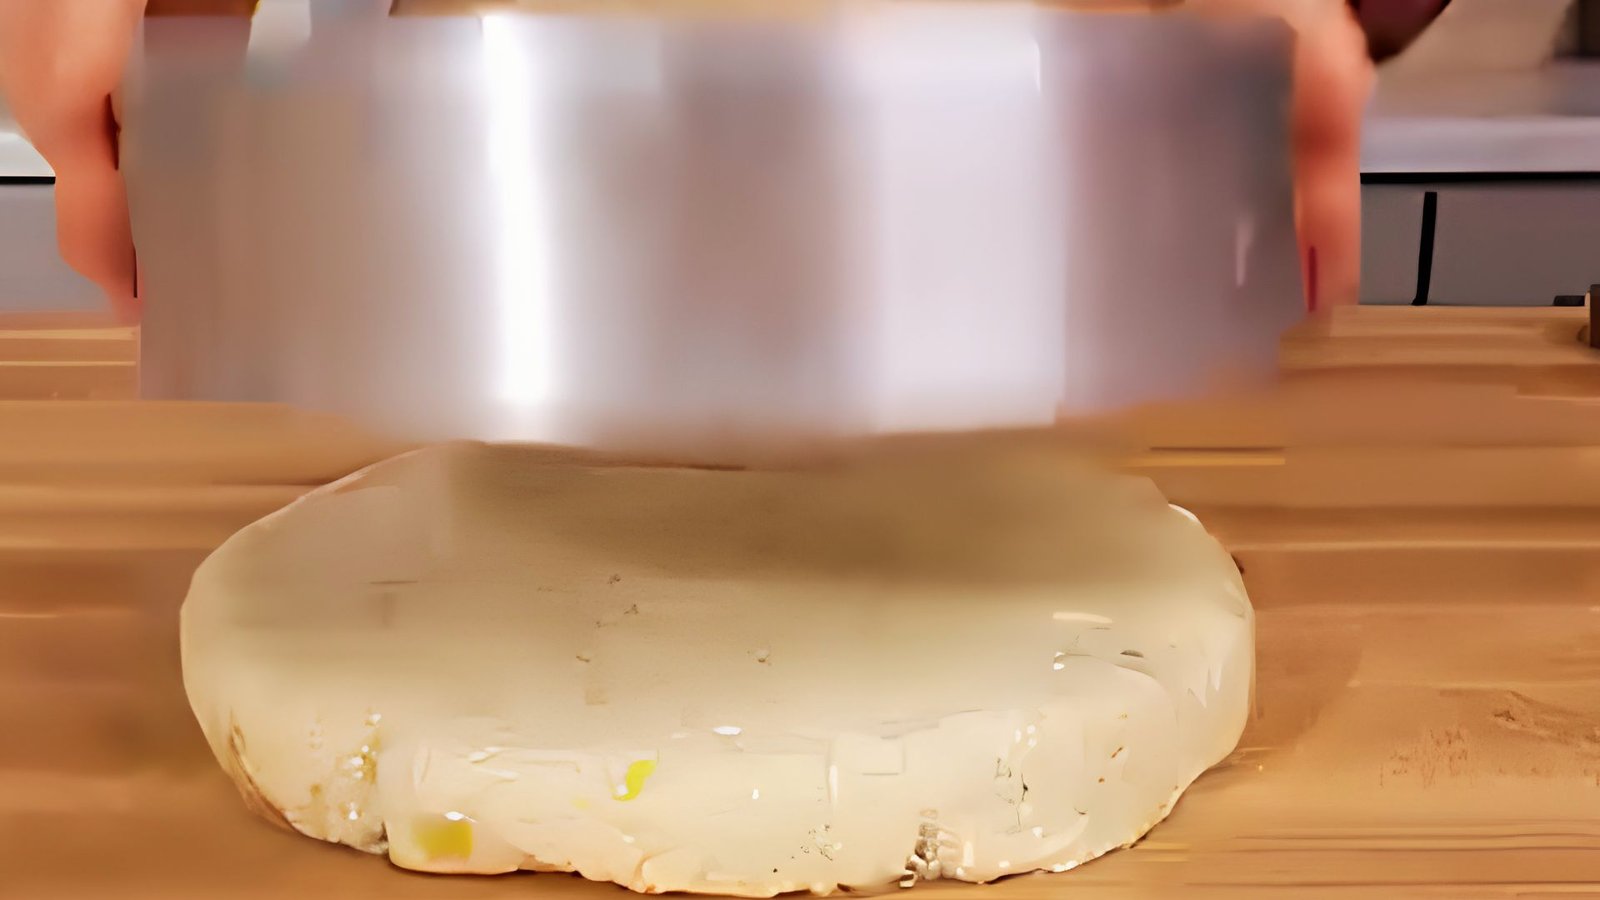
Turn the shaggy dough onto a lightly floured surface and gently knead once or twice until it holds together. Press it into an 8-inch circle, then wrap tightly in plastic wrap or parchment.
Chilling helps solidify the butter, improves texture, and ensures your ginger scones bake into tall, flaky wedges.
Step 6: Chill for Structure and Storage
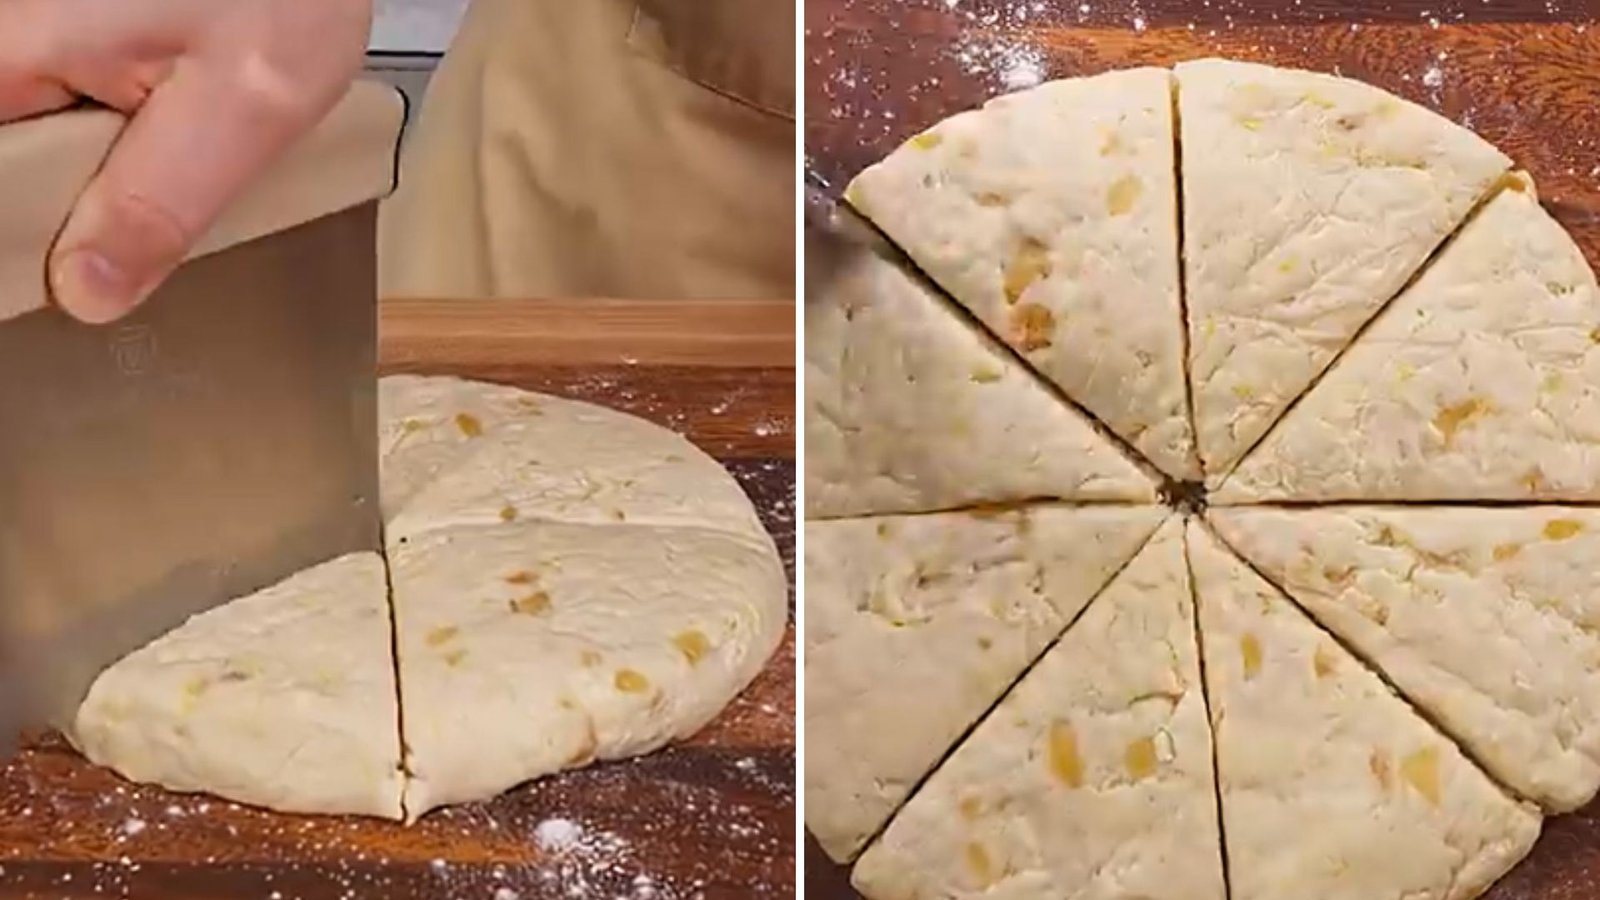
Place the wrapped dough in the refrigerator for at least 30 minutes or freeze for 15 to 20 minutes. This step firms the butter and improves rise during baking.
For longer storage, keep it in a freezer-safe bag. Proper chilling gives you bakery-style ginger scones with a perfect shape every time.
Step 7: Preheat Oven for Even Baking
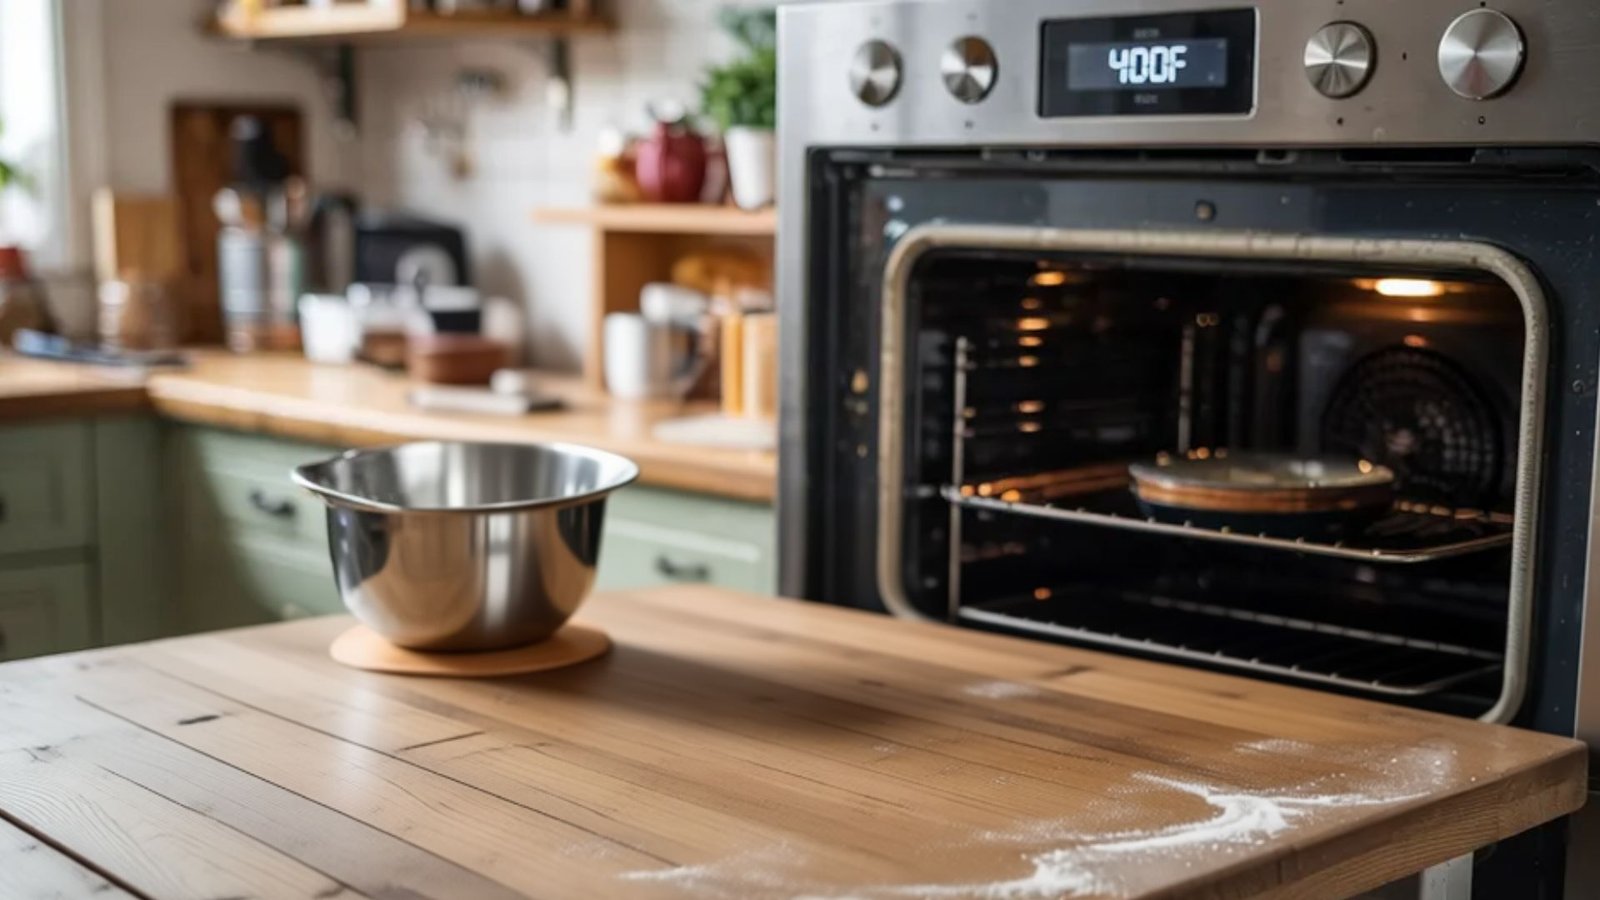
Preheat your oven to 400°F (204°C) while the dough chills. Proper preheating ensures consistent heat.
helping your ginger scones rise quickly and develop a golden, crisp outside while staying soft inside. Always bake in a fully heated oven for best results and even browning.
Step 8: Cut, Arrange, and Prepare for Baking
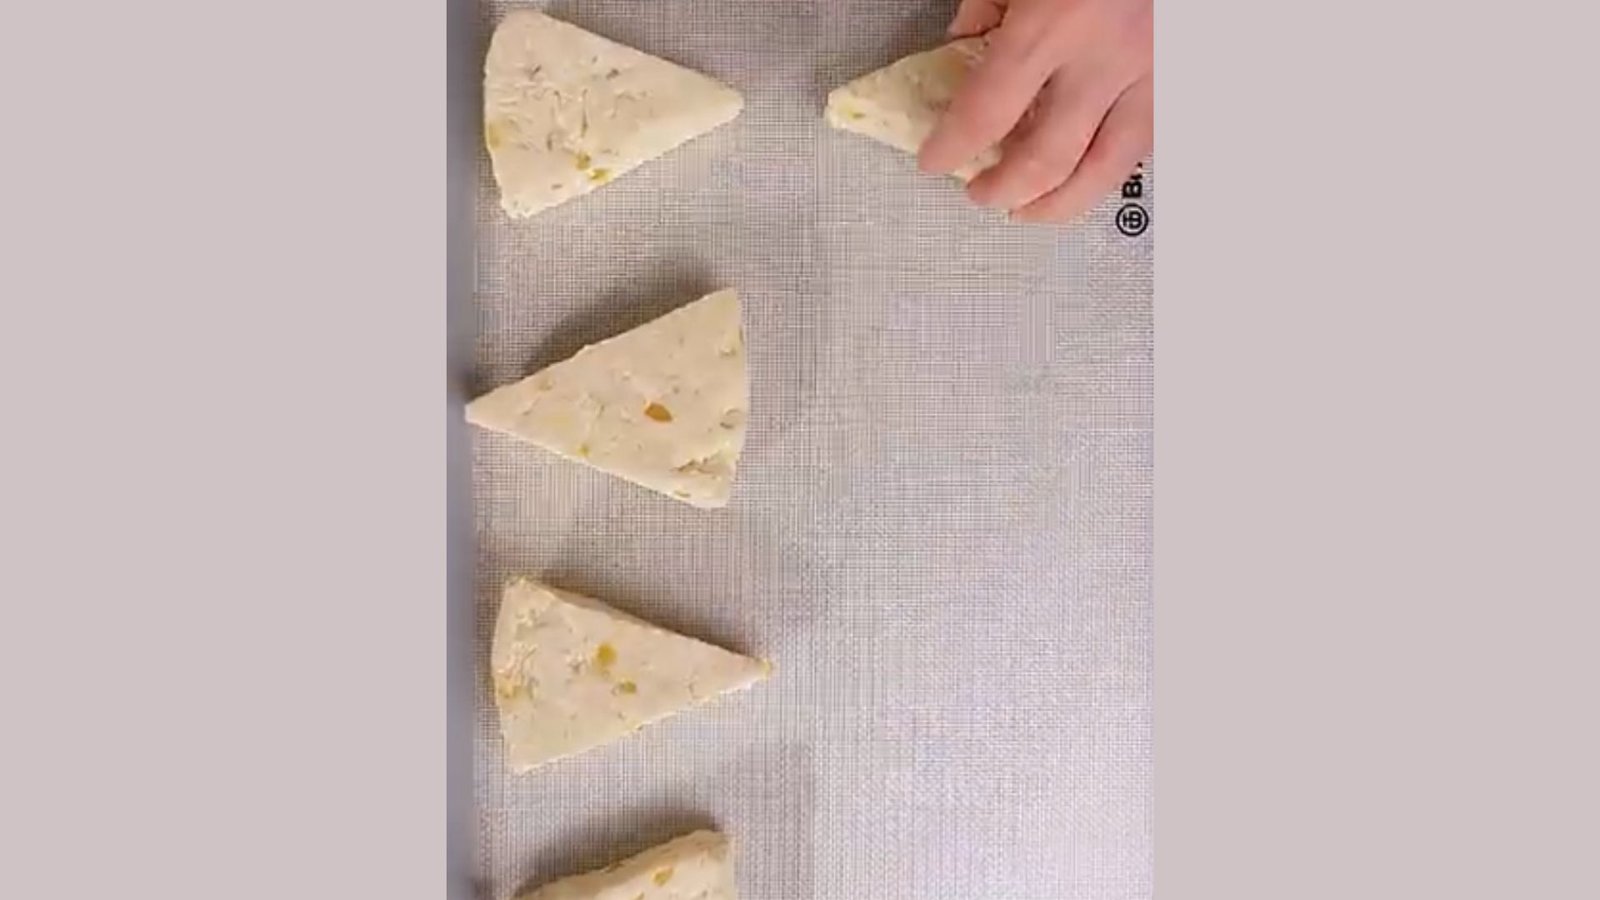
Remove chilled dough and cut it into 8 even wedges. Place them on a parchment-lined baking sheet, leaving space between each piece.
Brush the tops with heavy cream and sprinkle with coarse sugar for a golden crust. This step improves texture, flavor, and appearance, making your ginger scones look and taste bakery-fresh.
Step 9: Bake, Cool, and Serve
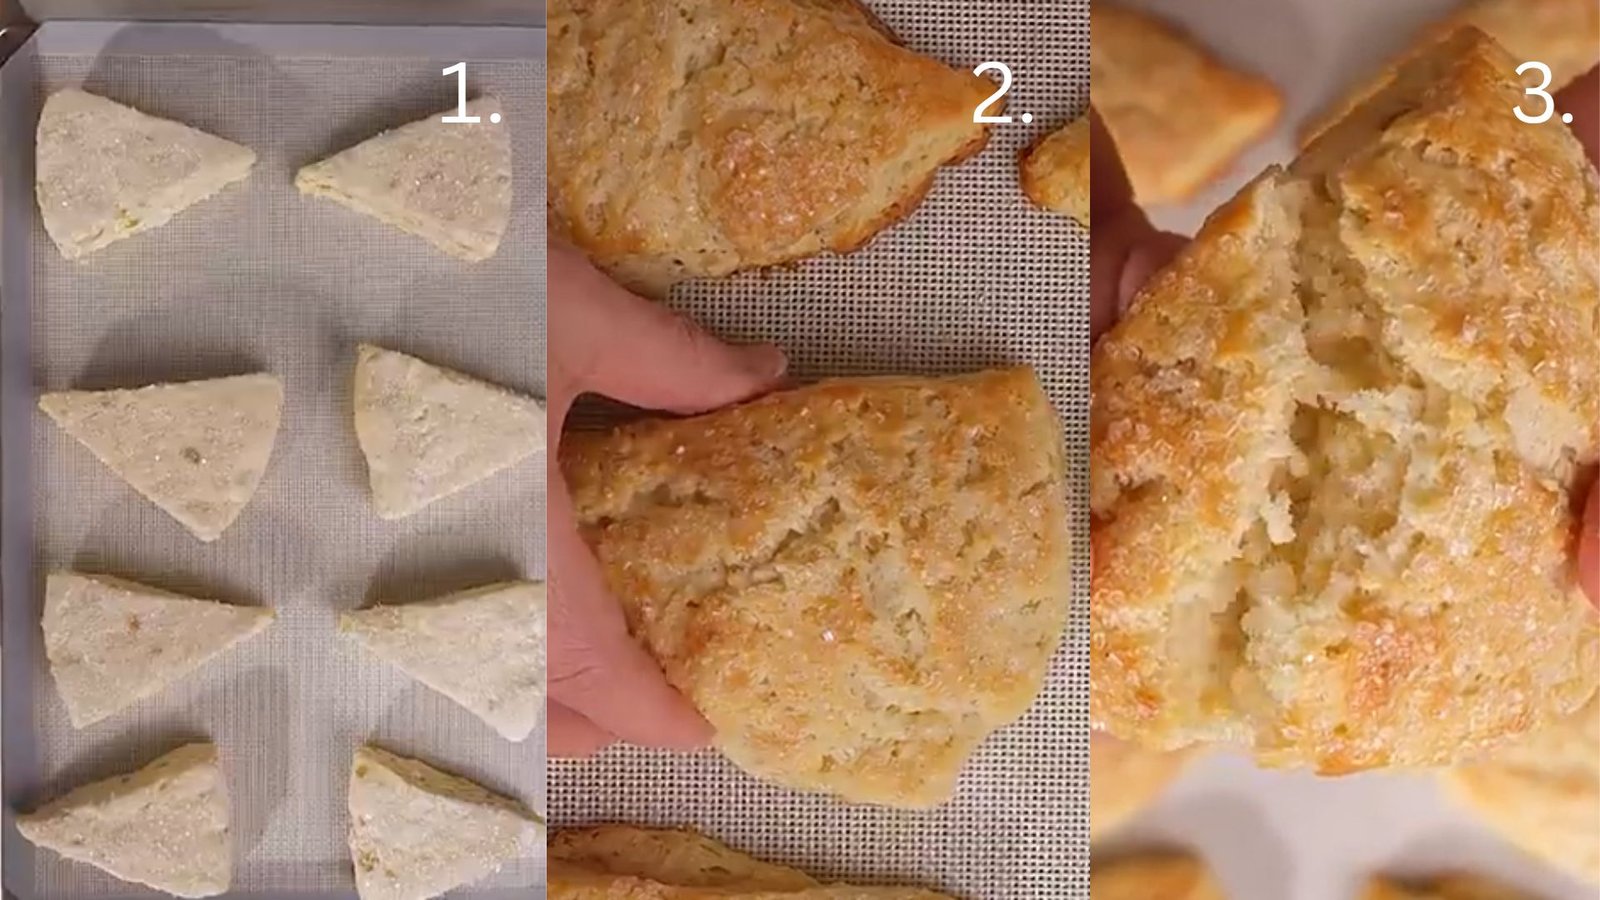
Bake at 400°F (204°C) for about 20 minutes until golden brown on top. The butter creates flaky layers and the sugar caramelizes slightly.
Watch closely toward the end to avoid overbaking. Transfer to a wire rack and cool for a few minutes before serving. Best enjoyed warm with tea or coffee.
Youtube Link: How to make ginger scones recipe
Best Ginger Scones Recipe Variations
Not every day calls for the same scone. Here are three great ways to switch up the base recipe.
Gingerbread Scones Variation
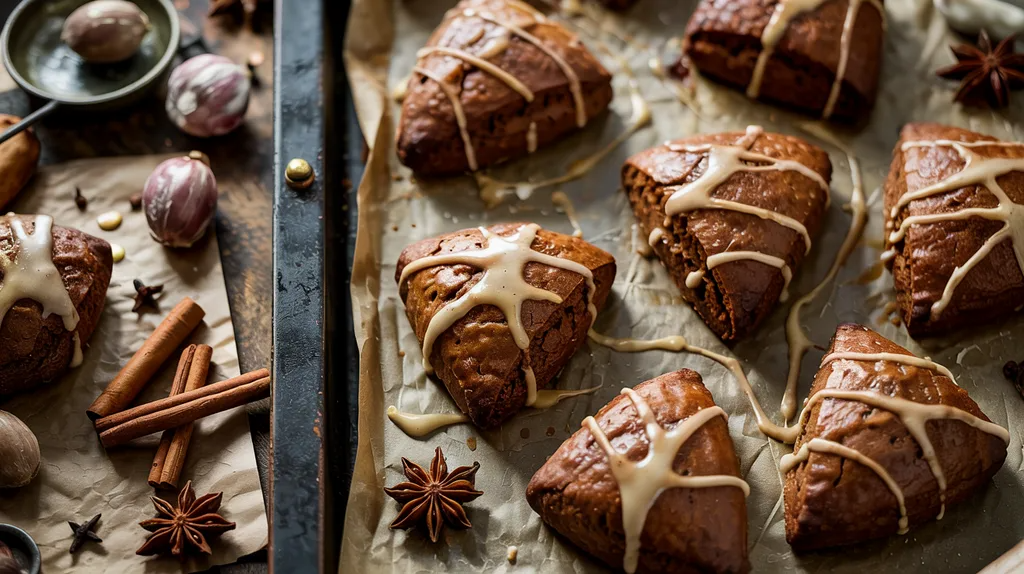
Want something that feels like the holidays? Add a spoonful of molasses and a mix of cinnamon, cloves, and allspice to the dry ingredients.
The result is a darker, richer scone with a warm, festive flavor. I make these every winter and they disappear fast. Great for gifting, gatherings, or a slow Sunday morning with coffee.
Candied Ginger Scones Variation

This version is for people who really love ginger. Load up on chopped candied ginger pieces for big, chewy bursts in every bite. The texture contrast is fantastic.
The outside is crisp, the inside is soft, and the ginger hits sharp and sweet at the same time. These pair well with strong black tea or a plain latte.
Ginger Cream Scones Variation

Replace regular milk with heavy cream for a richer, more tender scone. The crumb is softer, the texture is almost melt-in-mouth, and the flavor feels more indulgent without being heavy.
It is the easiest swap you can make, and the difference in taste is hard to miss.
Expert Tips for Perfect Ginger Scones Recipe
A few small things make a big difference here.
- Use overripe or discard starter: It's thinner and blends in smoothly. A thick, ripe starter makes mixing harder and throws off the texture.
- Freeze the dough ahead: Wrapped dough keeps in the freezer for up to two months. Thaw it in the fridge overnight, cut into wedges, and bake in the morning.
- Baking from frozen works too: Just add a couple of extra minutes and watch for a golden top.
- Keep the butter cold: Cold butter stays in crumbs, and those crumbs create flaky layers. Warm butter ruins that.
- Don't overmix: Shaggy dough is good dough. Overmixing makes scones tough and dense.
Conclusion
I've made a lot of scone recipes over the years. Most of them were fine. This ginger scones recipe is genuinely good.
The kind you want to make again next weekend.
If you try it, I'd love to hear how it went. Drop a comment below and let me know if you tried any of the variations.
And if you have a friend who loves baking, send this their way. It's a simple recipe that makes people happy every single time.
Frequently Asked Questions
Can I make ginger scones without sourdough discard?
Yes, you can replace the sourdough discard with an equal amount of buttermilk or plain yogurt for a similar tang and texture.
Why are my ginger scones flat?
Flat scones are usually caused by warm butter or skipping the chilling step. Always use cold butter and chill the dough before baking.
How do I store leftover ginger scones?
Keep them in an airtight container at room temperature for up to two days, or freeze them for up to a month.
Can I use fresh ginger instead of candied ginger?
Yes, fresh ginger works but gives a sharper, more intense heat. Use about one teaspoon of grated fresh ginger for a milder effect.
What can I serve with ginger scones?
They go well with clotted cream, butter, lemon curd, or a simple glaze made from powdered sugar and cream.